
Making a Mononoke Cosplay: The Fur Cape
In the movie Mononoke’s fur cape is white. It looks fantastic on her, but in real life…white can cause photo glare. So I chose to use a faux fur with a bit more grey in it. 
Mononoke’s fur cape was the most expensive piece of the costume to create. I almost didn’t make it. But I did. And it was the most time consuming element.
I ordered a 30″ by 60″ piece off of the Etsy store Fur and Fabric. (The options at Jo-Ann’s weren’t thrilling)
I wasn’t sure what to expect, but it came striped. They ran horizontal when I held the shorter end of the piece along my shoulders and let the length of it fall to my knees.
…It didn’t look right.

It terrified me to make serious cuts on an expensive piece of fabric, but I did. I cut the rectangle in half. Then I rotated both pieces so, once reattached, the stripes would run vertical. I sewed them back together and cut out a small notch where it would rest along the back of my neck. When that was done I measured how long it fell on my leg, and I was able to cut off a significant portion along the bottom. I used that piece to create the tail and “arms.”
I had the base of my cape!
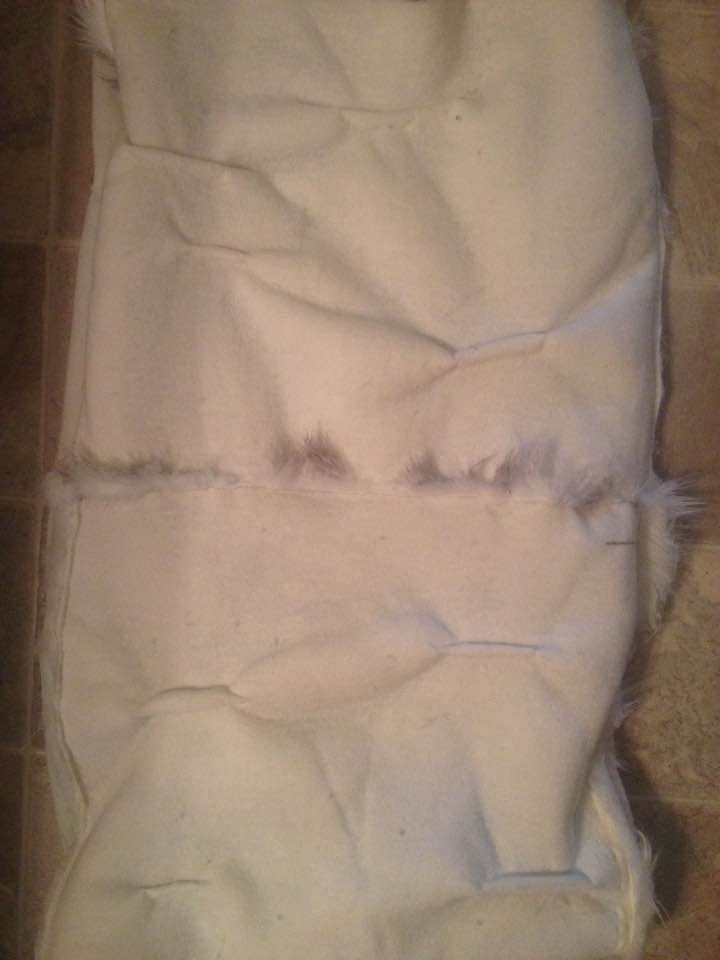
The stripes still bugged me. They were way too…perfect. Like corn rows. So I turned the cape over to work on the fabric’s off side and hand stitched in a dozen or so “pinches.”
 They helped rough up the look of the fur. Before, the lines were in obvious, perfect, flat stripes.
Attaching the tail was easy. Before I figured out how long I wanted it, I looked up the average length of a wolf’s tail. Answer: anywhere from 13-20″. I cut a skinny triangle and sewed it to the cape bottom. Then I rolled the sides of the triangle together, off side on the inside, to make it circular. I hand stitched it closed until about 2″ away from the cape’s base.
It looked like a real tail. I was happy.
Then came the arms; the hide that would have covered the wolf’s forelegs. I decided to make them longer than typical, hanging several inches down the torso. I’d seen some fan art and a cosplayer who had made the same stylistic choice, and I liked how it looked.
I started with small pieces, but when I pinned them to the fabric and checked it on a mannequin (AKA, me. I can’t justify buying a real mannequin…) They rotated inward and met at the base of my neck. They would have hidden Mononoke’s necklace.
I was glad I’d only pinned, and hadn’t permanently attached them yet.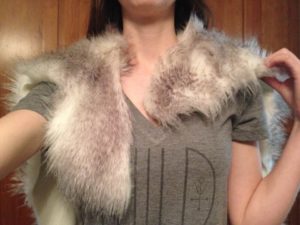
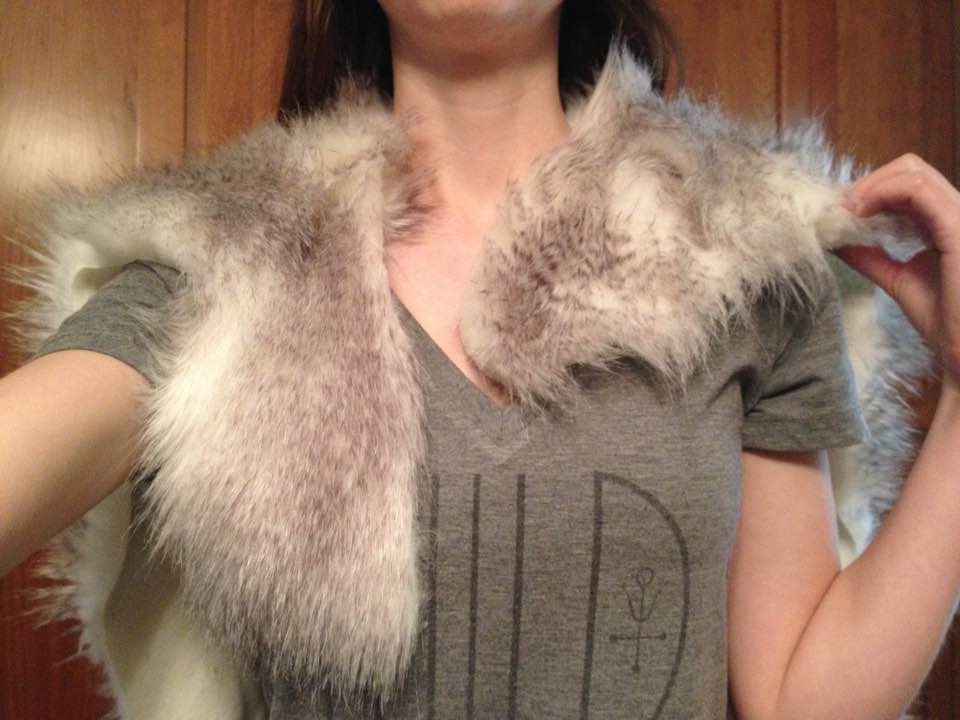
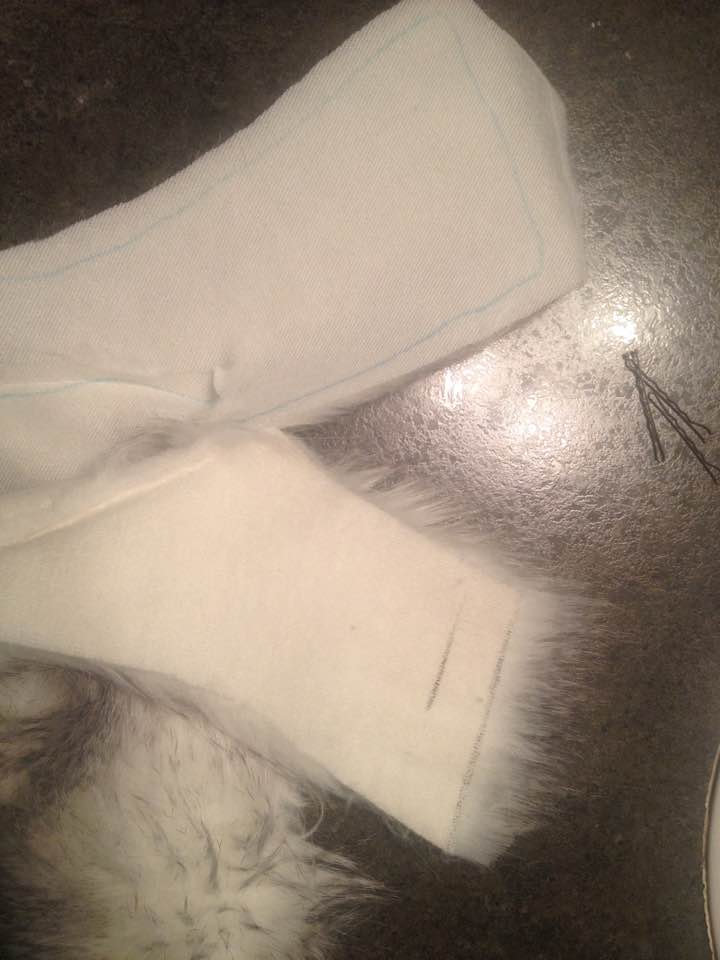
To make my second attempt lay straight while being worn, I had to cut them at a diagonal. I was worried they wouldn’t turn out. But they did!
You can easily tell which is my first attempt, and which is my adjustment.
It worked out well, because I recycled the failed first attempt on the bottom corners of the cape to create “back legs.”
 Once the arms and legs were attached I only had small scrap pieces of faux fur left. The original 30″ by 60″ piece ended up being perfect for me!
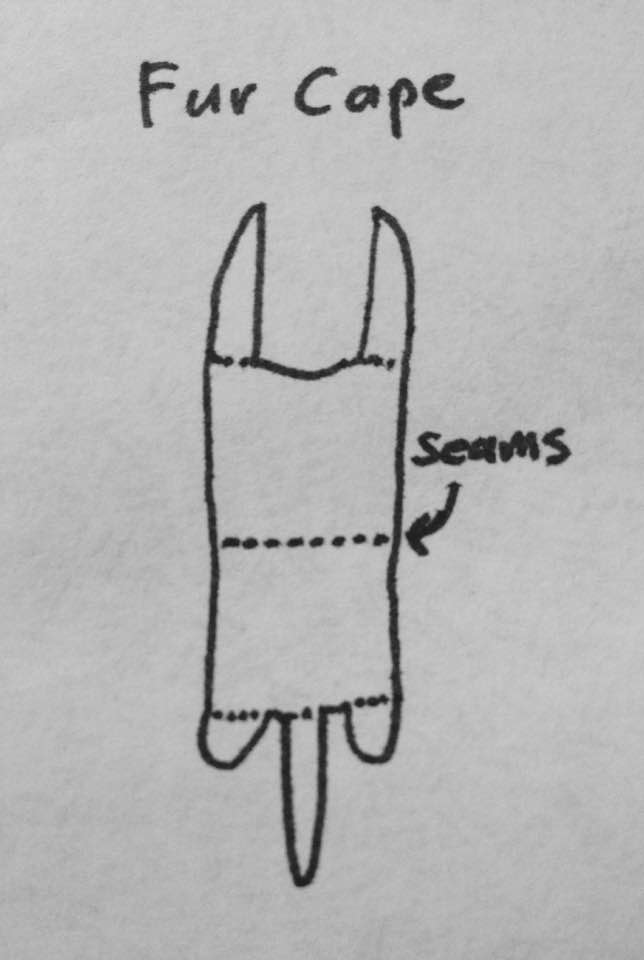
If I had used a pattern, the final outline would look like this.
At this point I could have cleaned the edges up a bit and called it. It looked pretty good. But if I wore it and you looked at me face to face, you could see the pinches in the off side of the fabric. I could have left it…but my perfectionism won the day.
I popped into Jo-Ann’s and bought a cheep piece of white faux fur that was on sale. It cost about $3.
I layed the cape and lining on the floor, back to back, and used a sharpie to outline the cape onto the lining. Then I cut. And hoped and prayed it would fit when I sewed them together.
 I didn’t trust the machine on fuzzy faux fur, or my sewing skills, so I hand sewed the bottom and the leg pieces first. The machine worked fine on the side seams.
Luckily I put the cape on and checked the lining for the arm pieces before 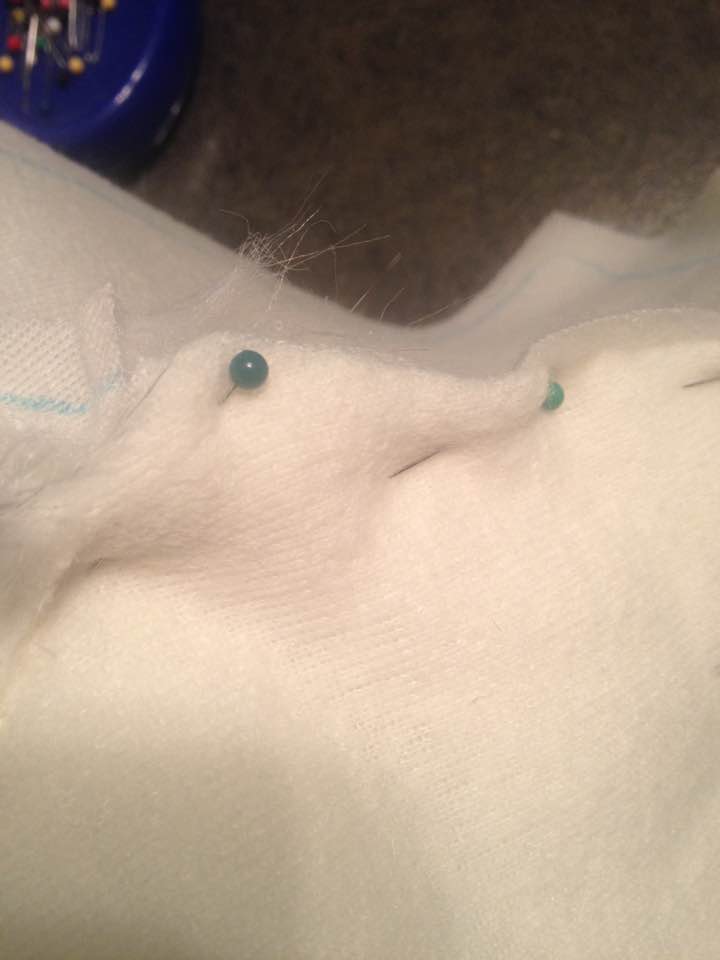 continuing on to them. Once the cape was on my shoulders, the lining stuck out in a completely different direction than the outer cape. I cut them off. My second attempt worked much better.
I had to hand sew most of the arms as well.
With two layers of faux fur, the cape is pretty heavy. I planned on attaching Mononoke’s necklace to it, but that wouldn’t be heavy enough to act as a counterweight. The cape would slide right off.
So I went down the the local BiMart and purchased two fishing weights/sinkers. I sewed one onto the bottom inside each arm. It worked perfectly. How perfectly?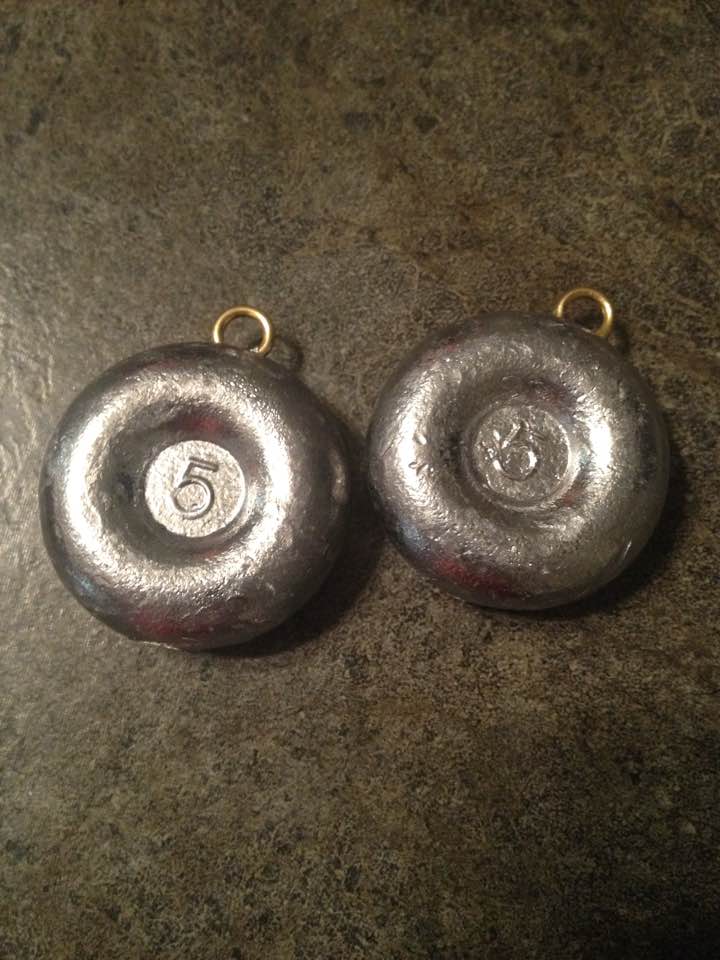
My brother stopped by one day, so I had to show off my new cape. After seeing me stride across the room, make quick turns, and bounce up and down, his comment was something like “You’re wearing a magical cape. HOW is that staying on your shoulders?”
Haha! I’ll call that a win. ;)
When I finished with the sinkers the cape was inside out. The only portion of the two fabrics left unsewn was along the back of the neck.
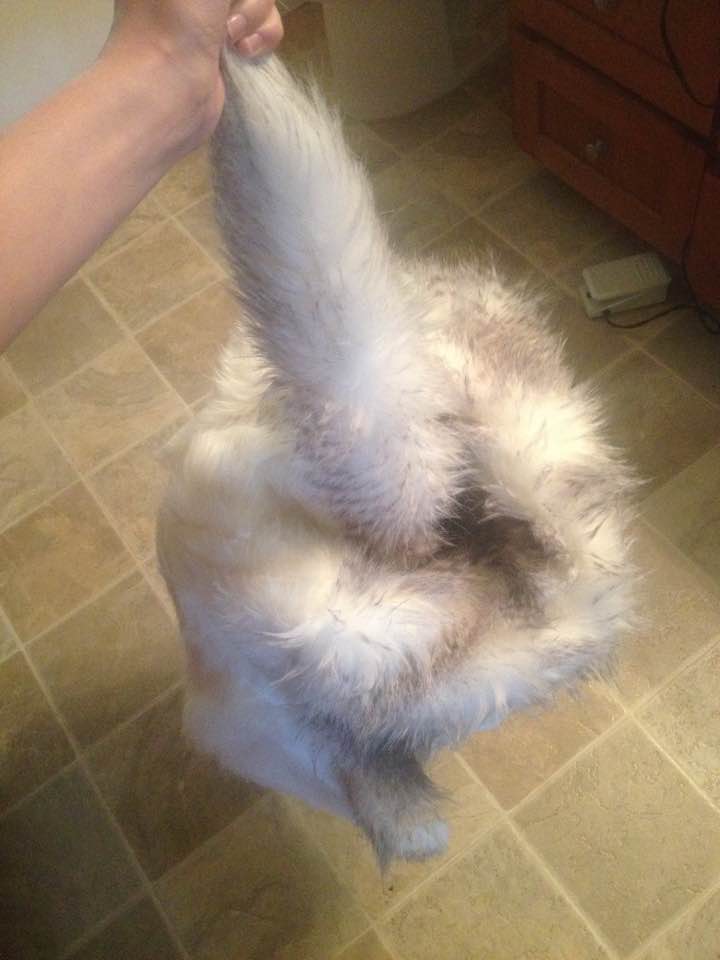
Then came the fun part; turning it inside out.
Presenting the cape roll!
(I sewed up the back of the neck after turning it out)
Her fur cape was finished!
Here is a front and back photo of the completed piece. You get a sneak peak of the necklace already attached.


So what do you think?
Also in this series:
The Base: Mononoke’s Dress and Apron
The Accessories: Mononoke’s Headband, Armbands, Necklace, Earrings, and Face Paint
Mononoke Wrap Up: Final Weathering and Other Extras
Photos of Mononoke
If there is anything in particular you would like added in to these posts, let me know!
d
Just B. Jordan is an award-winning author of fantasy and sci-fi. She graduated high school a year early and received her first publishing contract at the age of 18. To Ashes We Run is her most recent novel. Find it here.
Leave a Reply