
The Accessories: Mononoke’s Headband, Armbands, Necklace, Earrings, and Face Paint
Earrings
Mononoke’s earrings were the first accessory I made, and they were quite simple.
They are large discs so, depending on the material you choose, they could easily become quite heavy. I chose to go lightweight and made them out of thin wood.
I already own basic jewelry making equipment so it was easy for me to assemble them. If you don’t own jewelry pliers you can buy the pieces you need pre-made:
2 Earring Hooks
2 Jump Rings (these usually come in packs of 10+)
2 Wooden Discs
You should be able to get all of these at a store like Michaels.
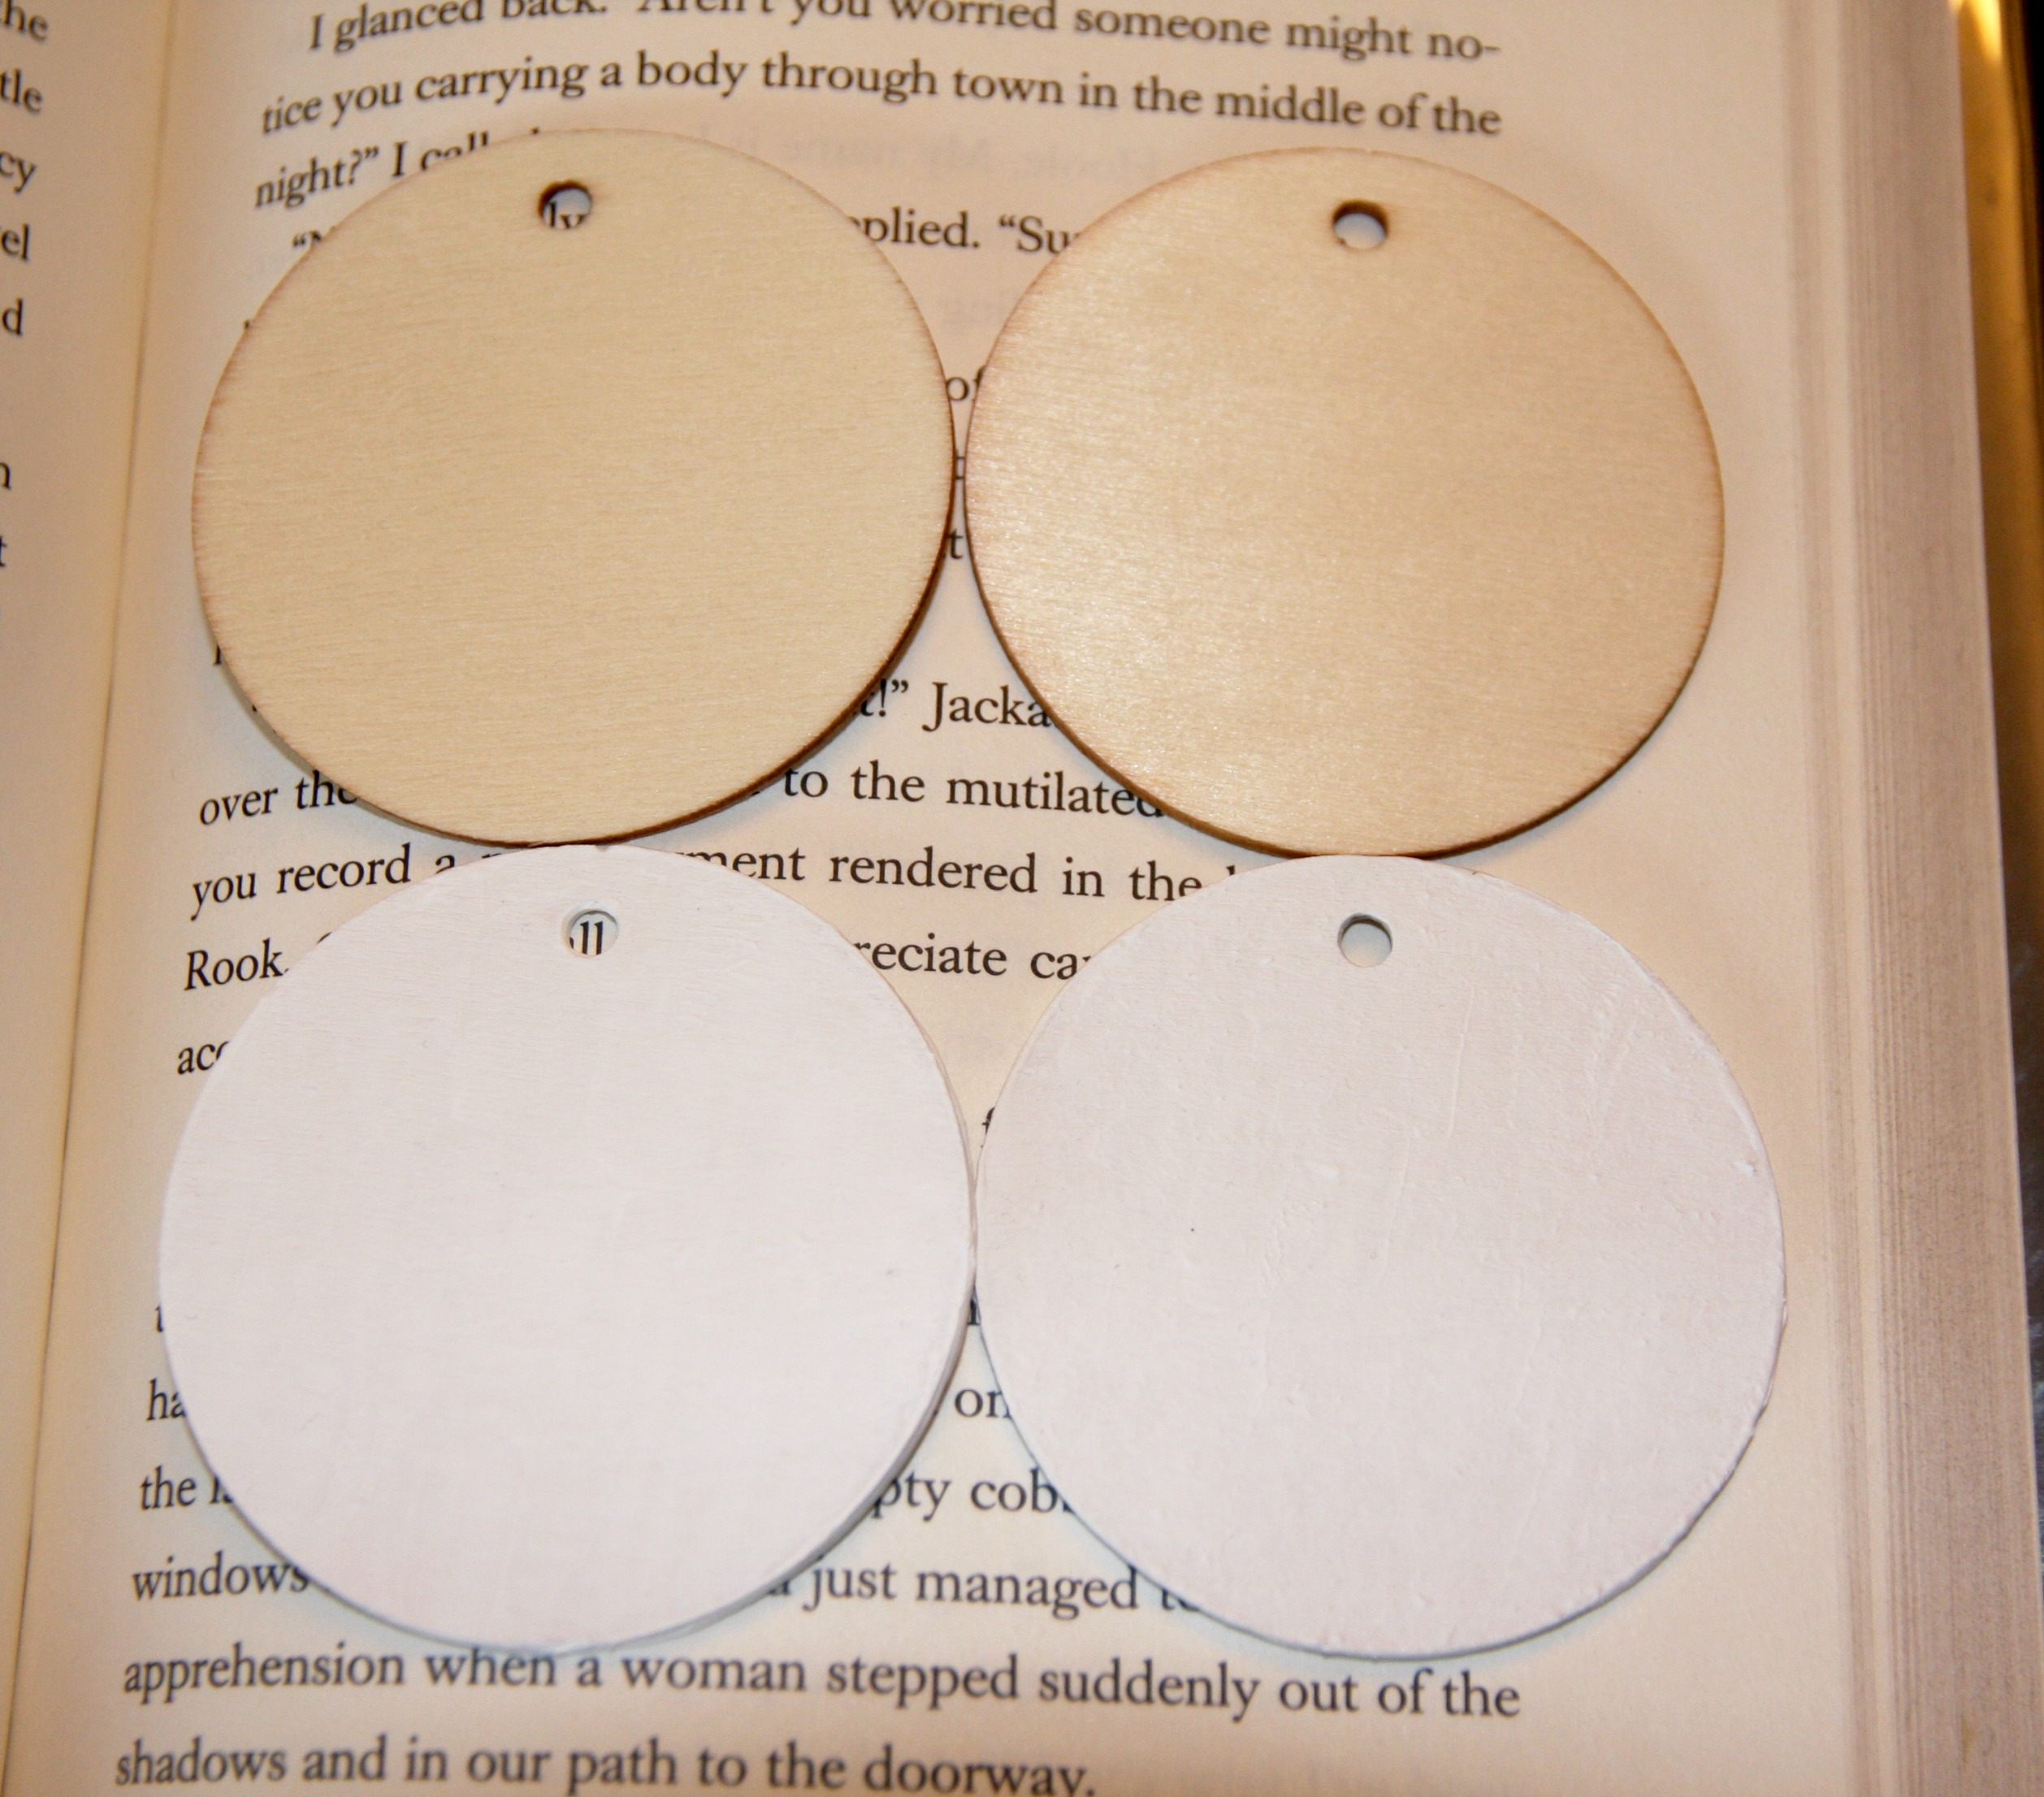
I colored the wooden discs with white acrylic paint. White nail polish would work as well. You’ll need to apply several coats.
Then I made jump rings and attached the earring hooks. 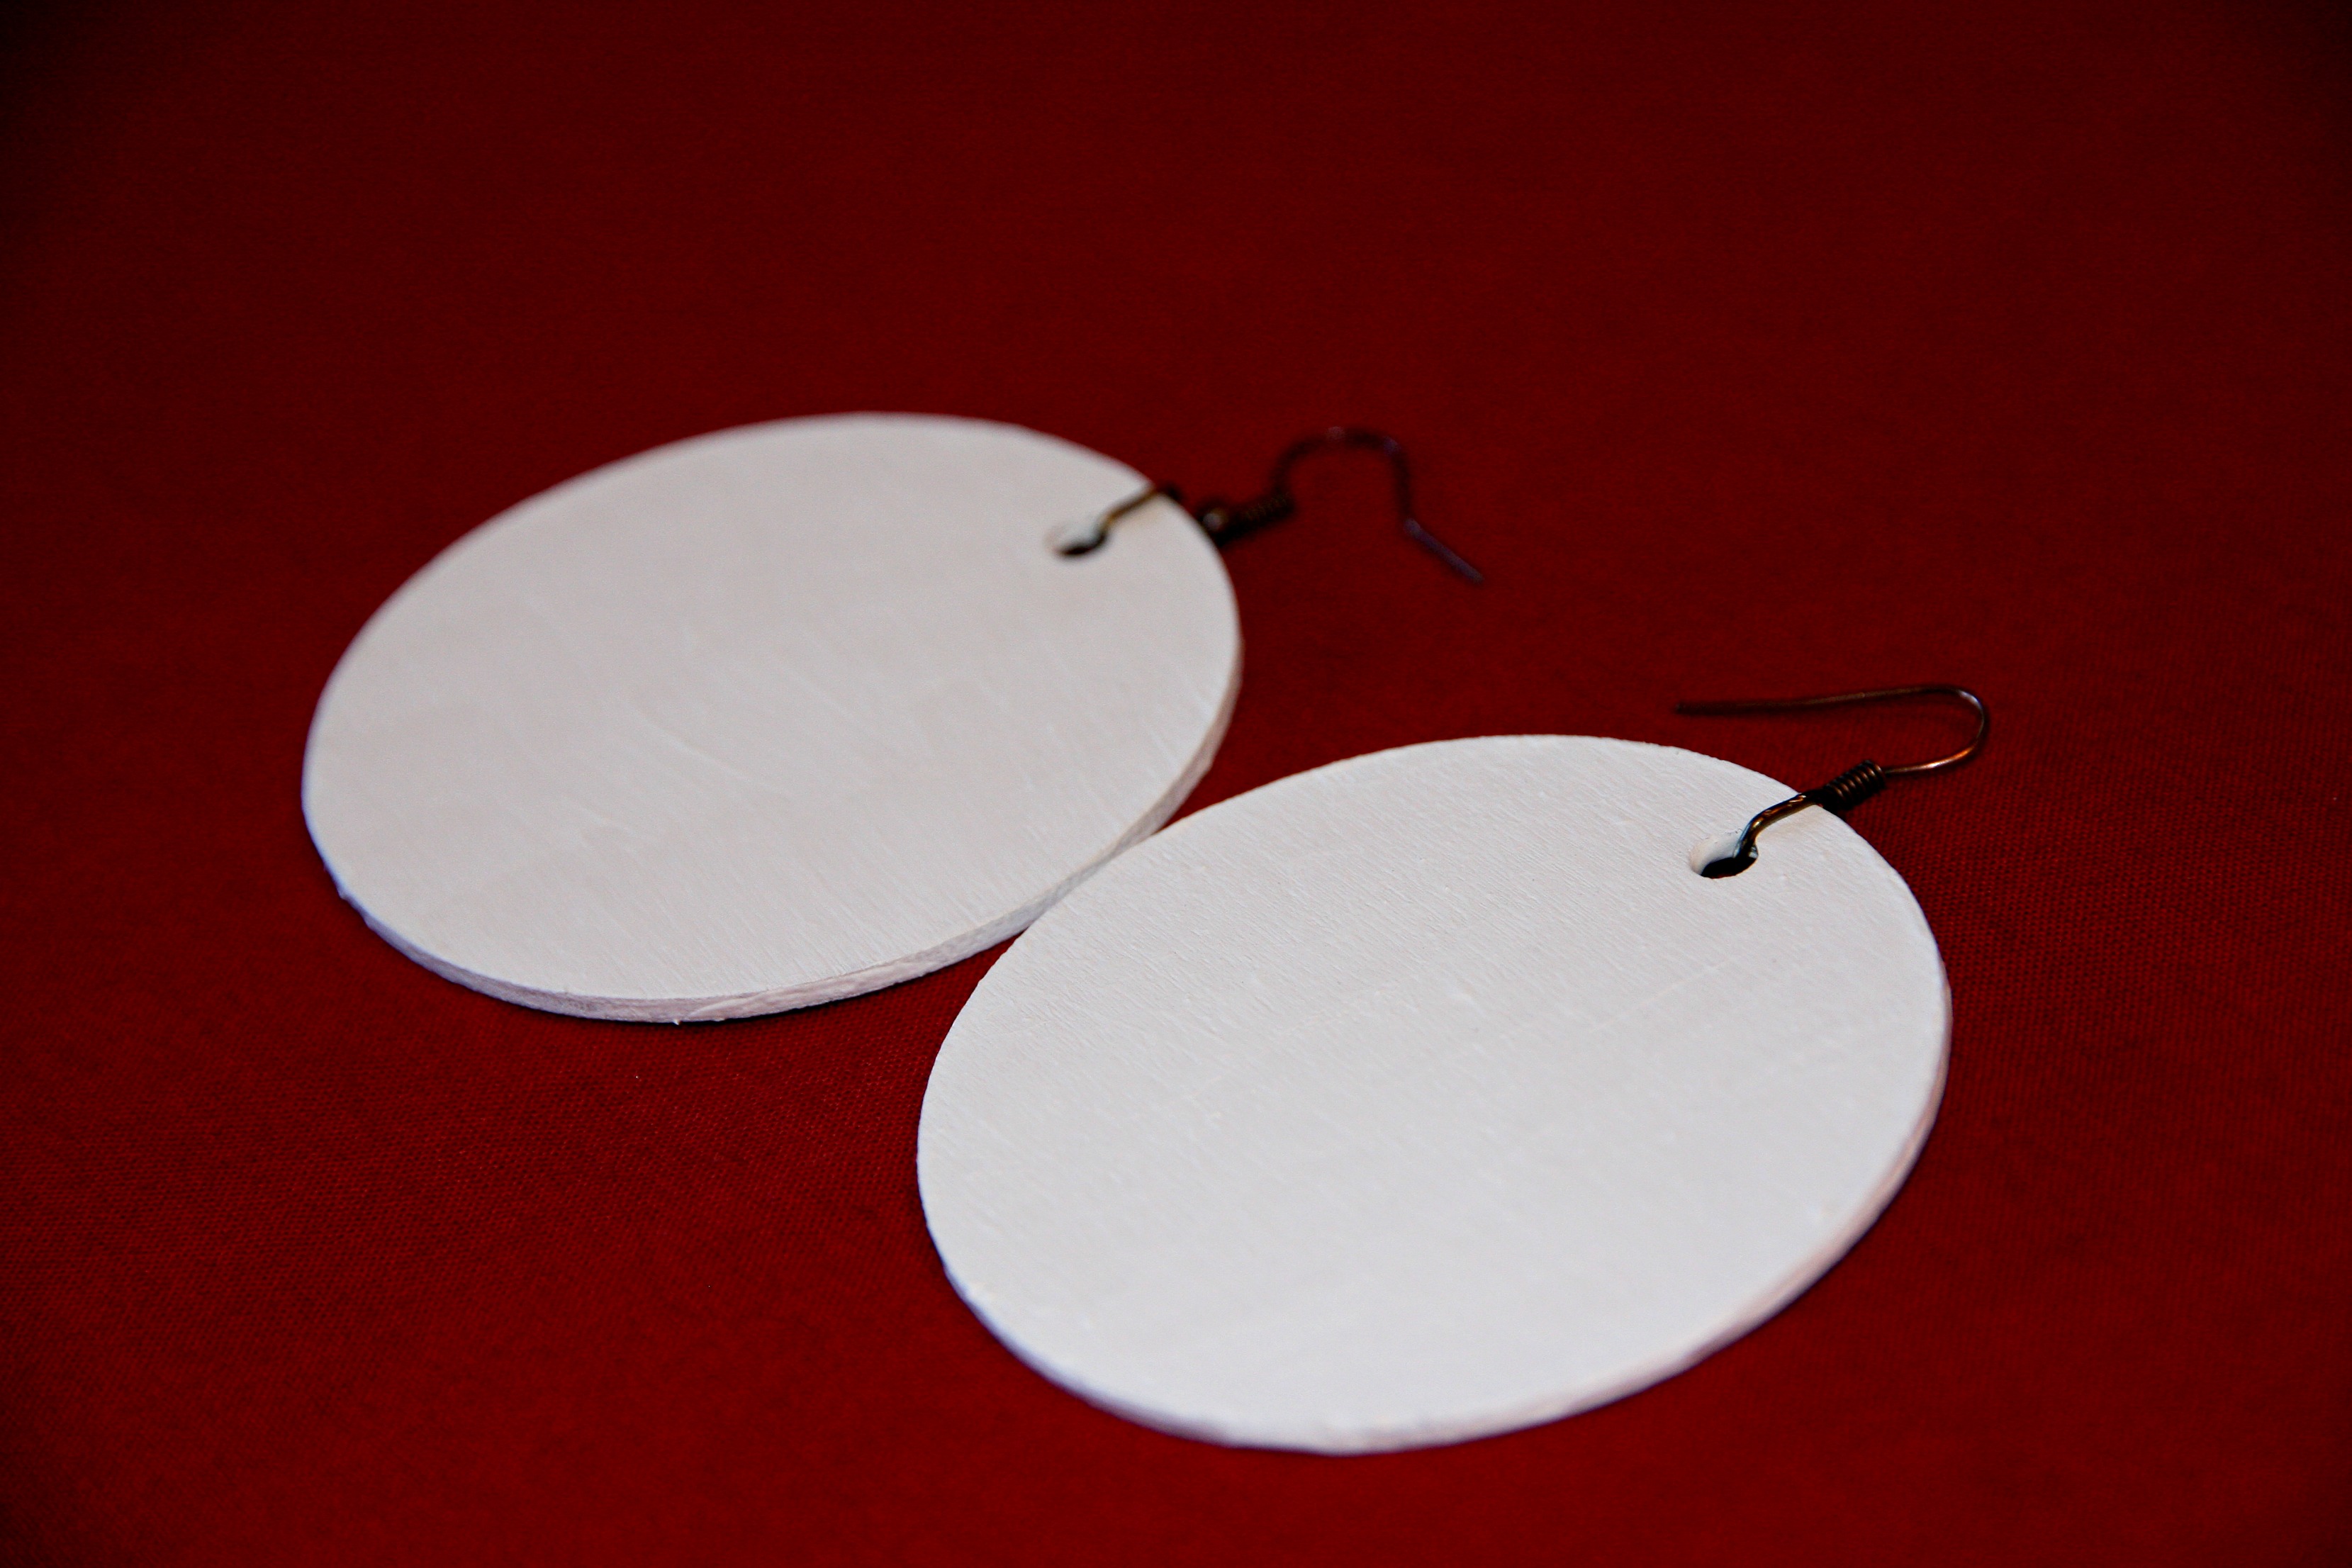
Finished!
Necklace
I spent a lot of time looking for the right beads. I didn’t want to mold them myself because I didn’t want a bulky or clay look. I wanted them to look like teeth or genuine beads.
For the black beads I used large cylinder lava beads. They kept the color and shape true, and the pockmarks added the rougher feel I was going for.
These ended up being cheaper for me to buy at Hobby Lobby than ordering anywhere online.
The white “tooth” beads were the hard part.
I searched bead and craft stores but didn’t find anything large enough. I almost went with replica bear claws I found on Etsy, with the plan to paint them white. But I had two concerns about those. They had a steep, almost half circle curve, and were sharp enough to do damage under force. So:
They would likely end up twisting onto their sides instead of falling “straight.” And that wouldn’t look right.
But if they did lay straight and someone smacked me in the chest with a foam sword…I didn’t want to have replica bear claws saying hello to my lungs.
An unlikely event, but call me paranoid.
A century later I discovered long, thin tribal beads on the Etsy store Lennies Bead Drawer. I was worried they would be too small in comparison to the 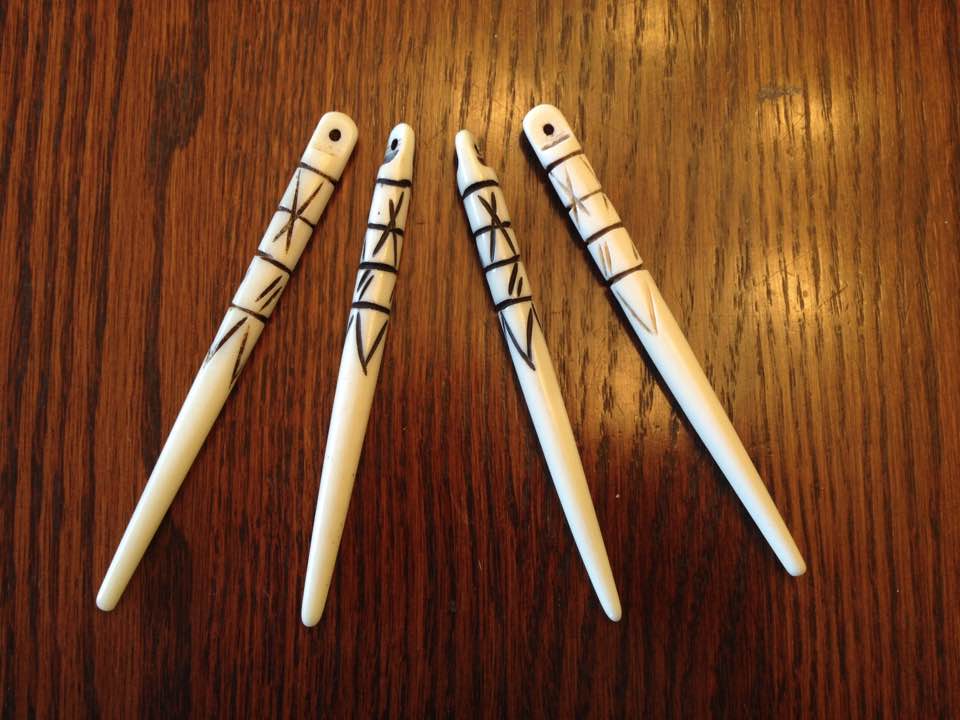 rest of my cosplay (even though they were larger than anything else I found), but I loved their look.
When they came they weren’t as uniform in color as I expected, but it was an easy fix. 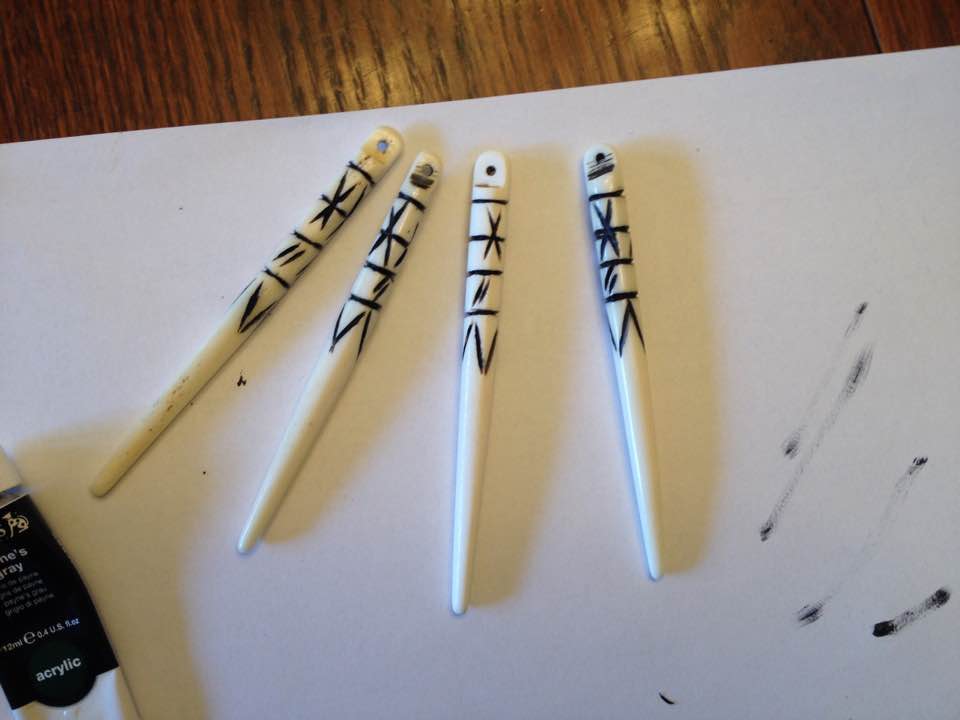 I carefully filled in their lines with black acrylic paint.
They turned out beautifully.
I strung them on beading string temporarily, but it was heavy enough I needed something heavy-duty to last wear.
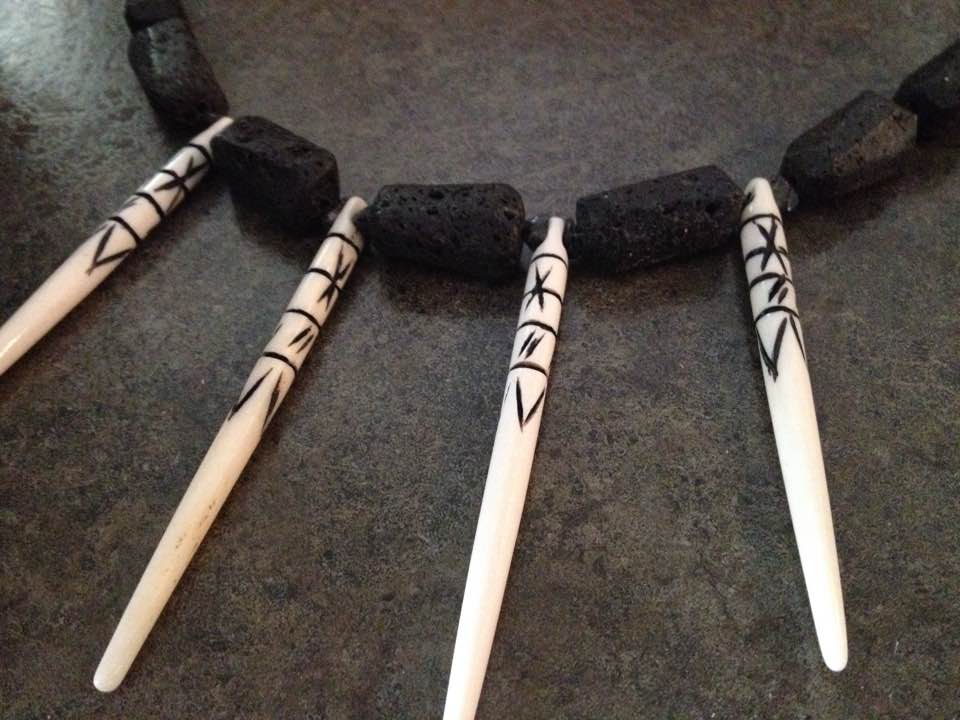
Then I added tiny black and grey rock beads between each lava bead and “tooth.” (Otherwise the lava beads seemed to swallow the teeth.)
Luckily I also have basic leather working tools. (…I’m starting to think I’ve collected too many hobbies) So I used waxed string made for leather working to carry the beads. It’s held up well to date.
The angle of the necklace wouldn’t look right if it was just worn around my neck. It would be too steep. I attached it to the cape using the waxed string, just below the shoulder line seam of its “arms.”
Finished!
Arm and Head Bands
Because I already had basic leather working tools and scrap leather from a previous project (a Jedi belt), I didn’t spend any money on this element.
I used cordovan Kiwi shoe polish to darken the leather (the Jedi belt scrap leather was dyed lighter than I wanted Mononoke’s bands to be).
The strips of leather weren’t quite long enough to form the armbands, so I had to lengthen them with bits of an old western belt. A sewing awl and waxed string did the trick.
I used leather snaps to fasten the armbands. I originally purchased them and a basic snap fastener from Tandy Leather. You can find their products in most craft stores.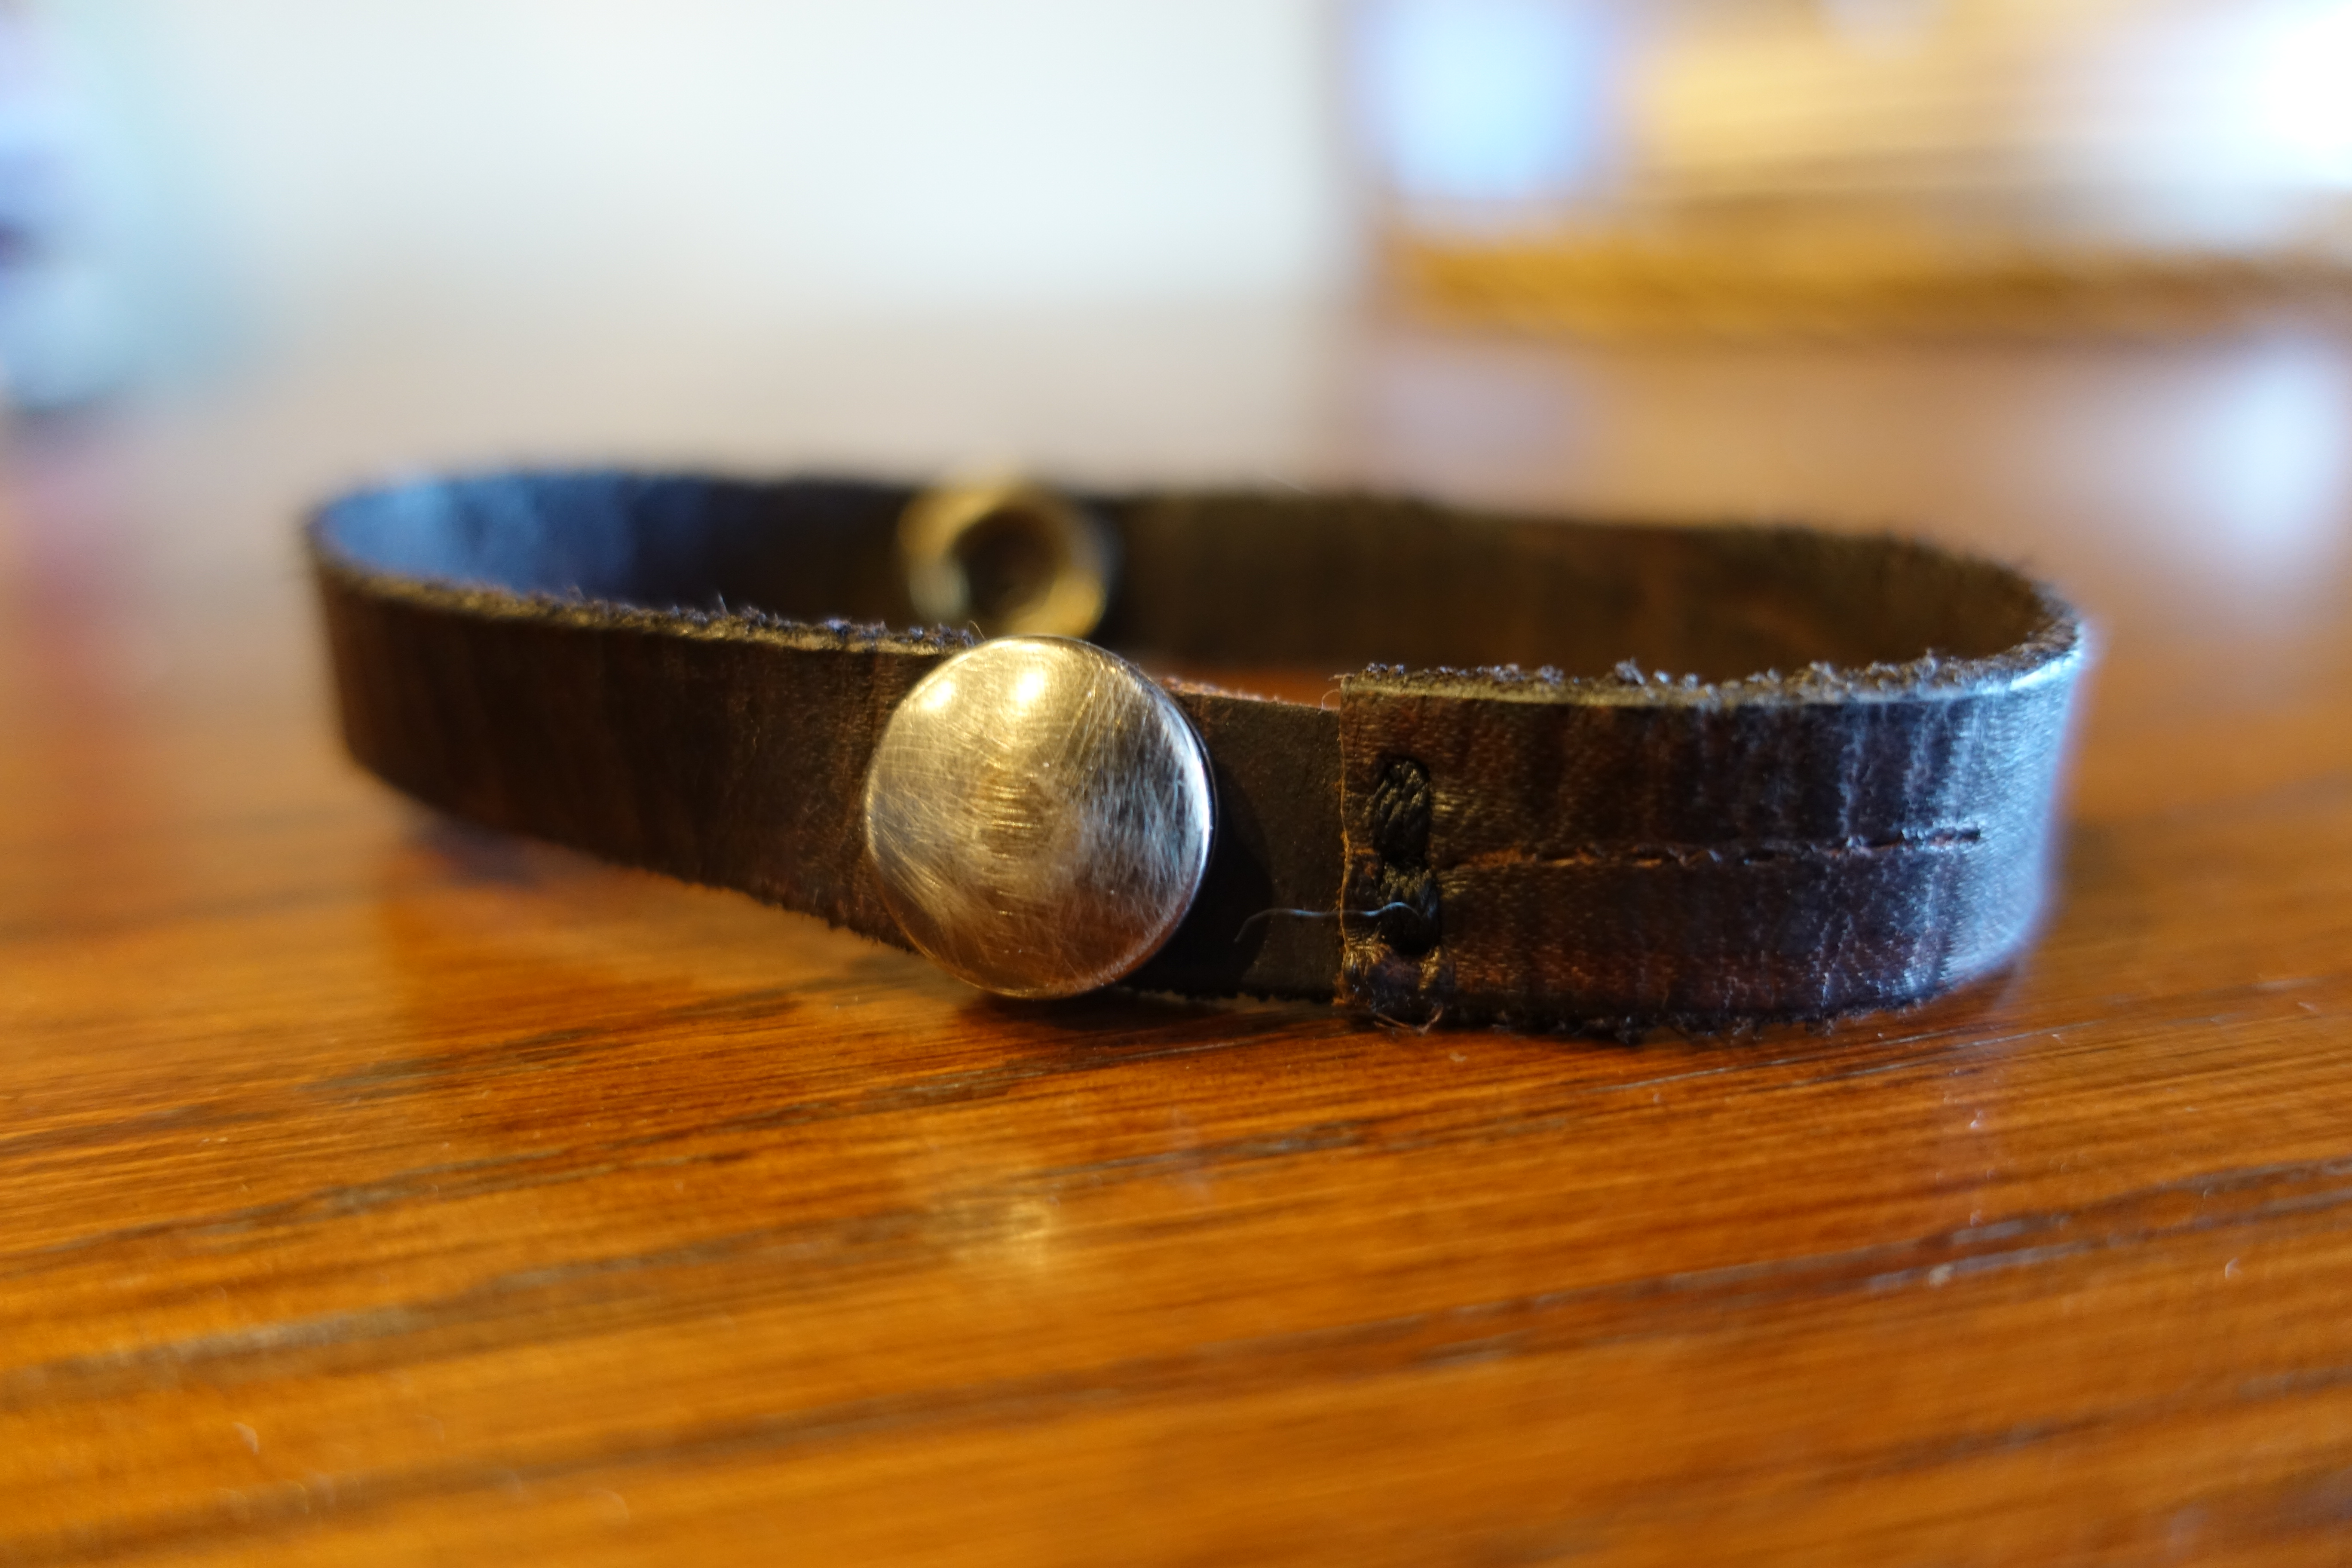
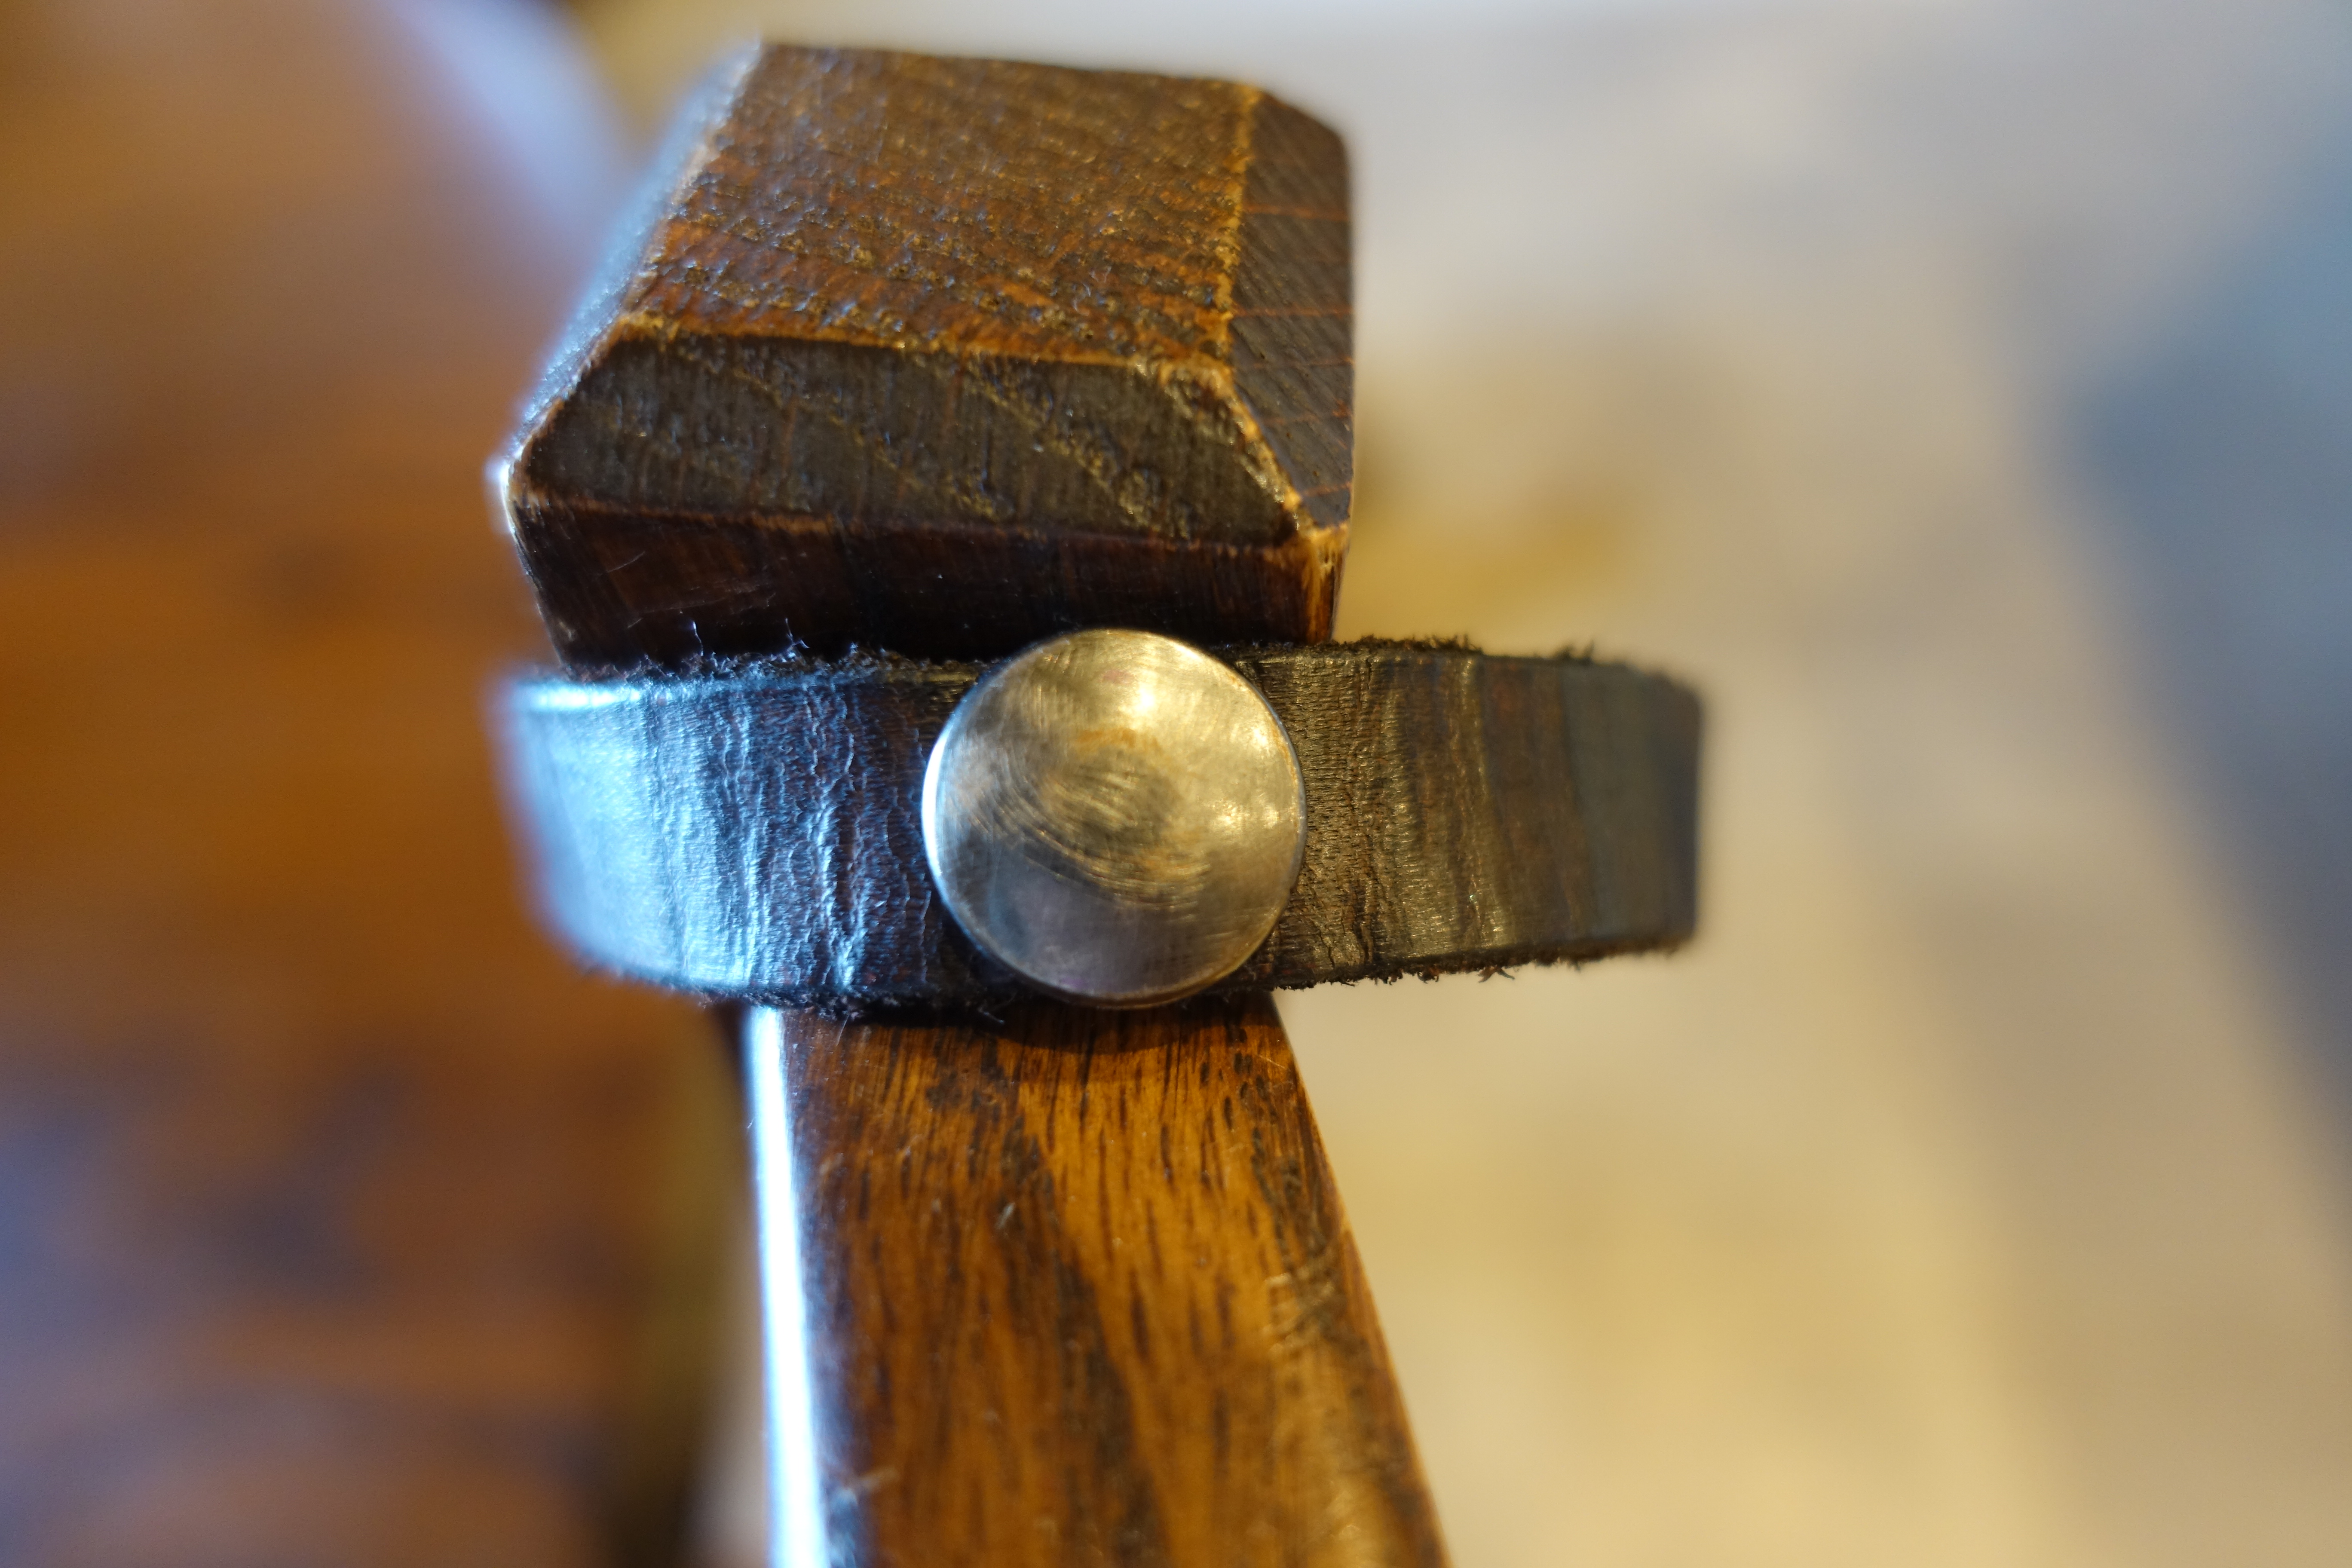
For the white “stones” on Mononoke’s bands, I also used leather snaps. I didn’t want the seam line to show, so I attached a second snap on each band.
The side with the stitched seam went under my arm. The “clean” side faced out. I don’t think anyone even noticed I had second snaps under my arms. Haha
The face of the snaps looked shiny and new, so I took sandpaper to them to create a more rugged look for Mononoke.
Mononoke’s headband was built from the same old western belt that I used bits of on the armbands.
When I say old, I mean I’m pretty sure it was my grandmother’s when she was in high-school. So it was new around 1950-something. Now I feel bad for…”altering” it…
It was delicate to work with. I came close to ruining it once. It’s stain was almost gone, so it was easy for me to re-stain 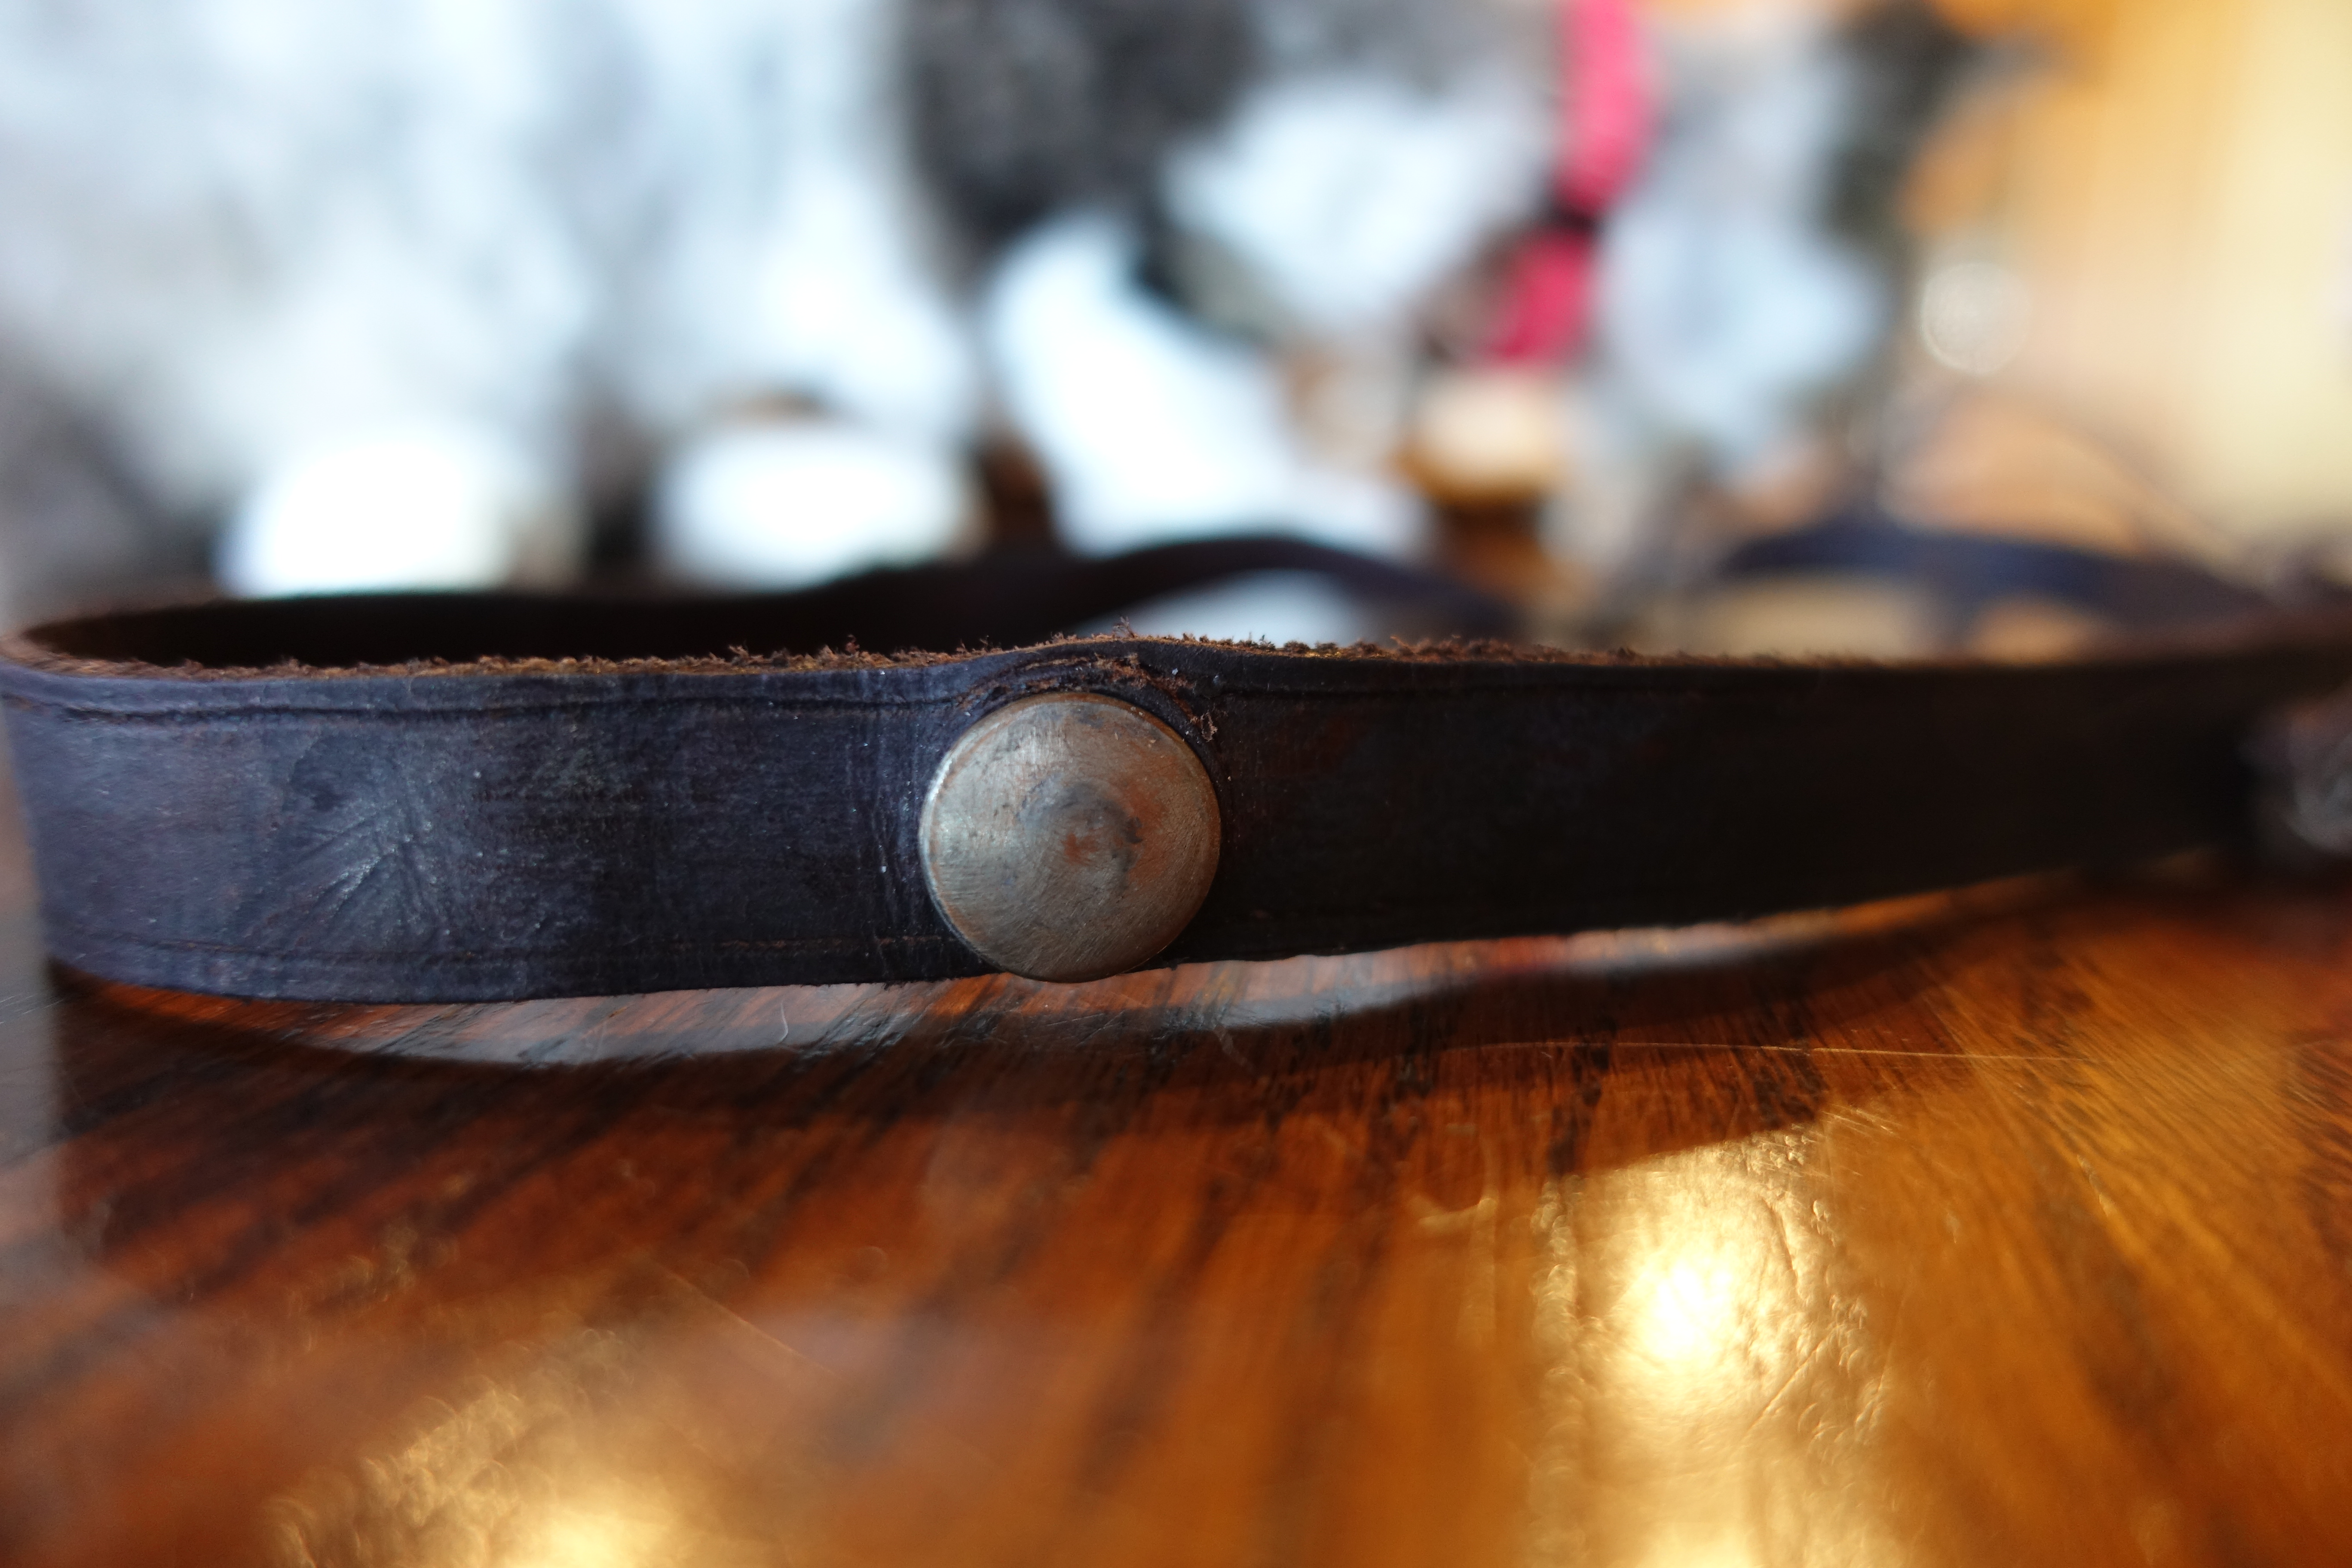 it darker, then use that Kiwi shoe polish to create the same color as the armbands.
I used a saddle groover to create two lines along its edges for some definition.
A leather snap went on as the center forehead stone.
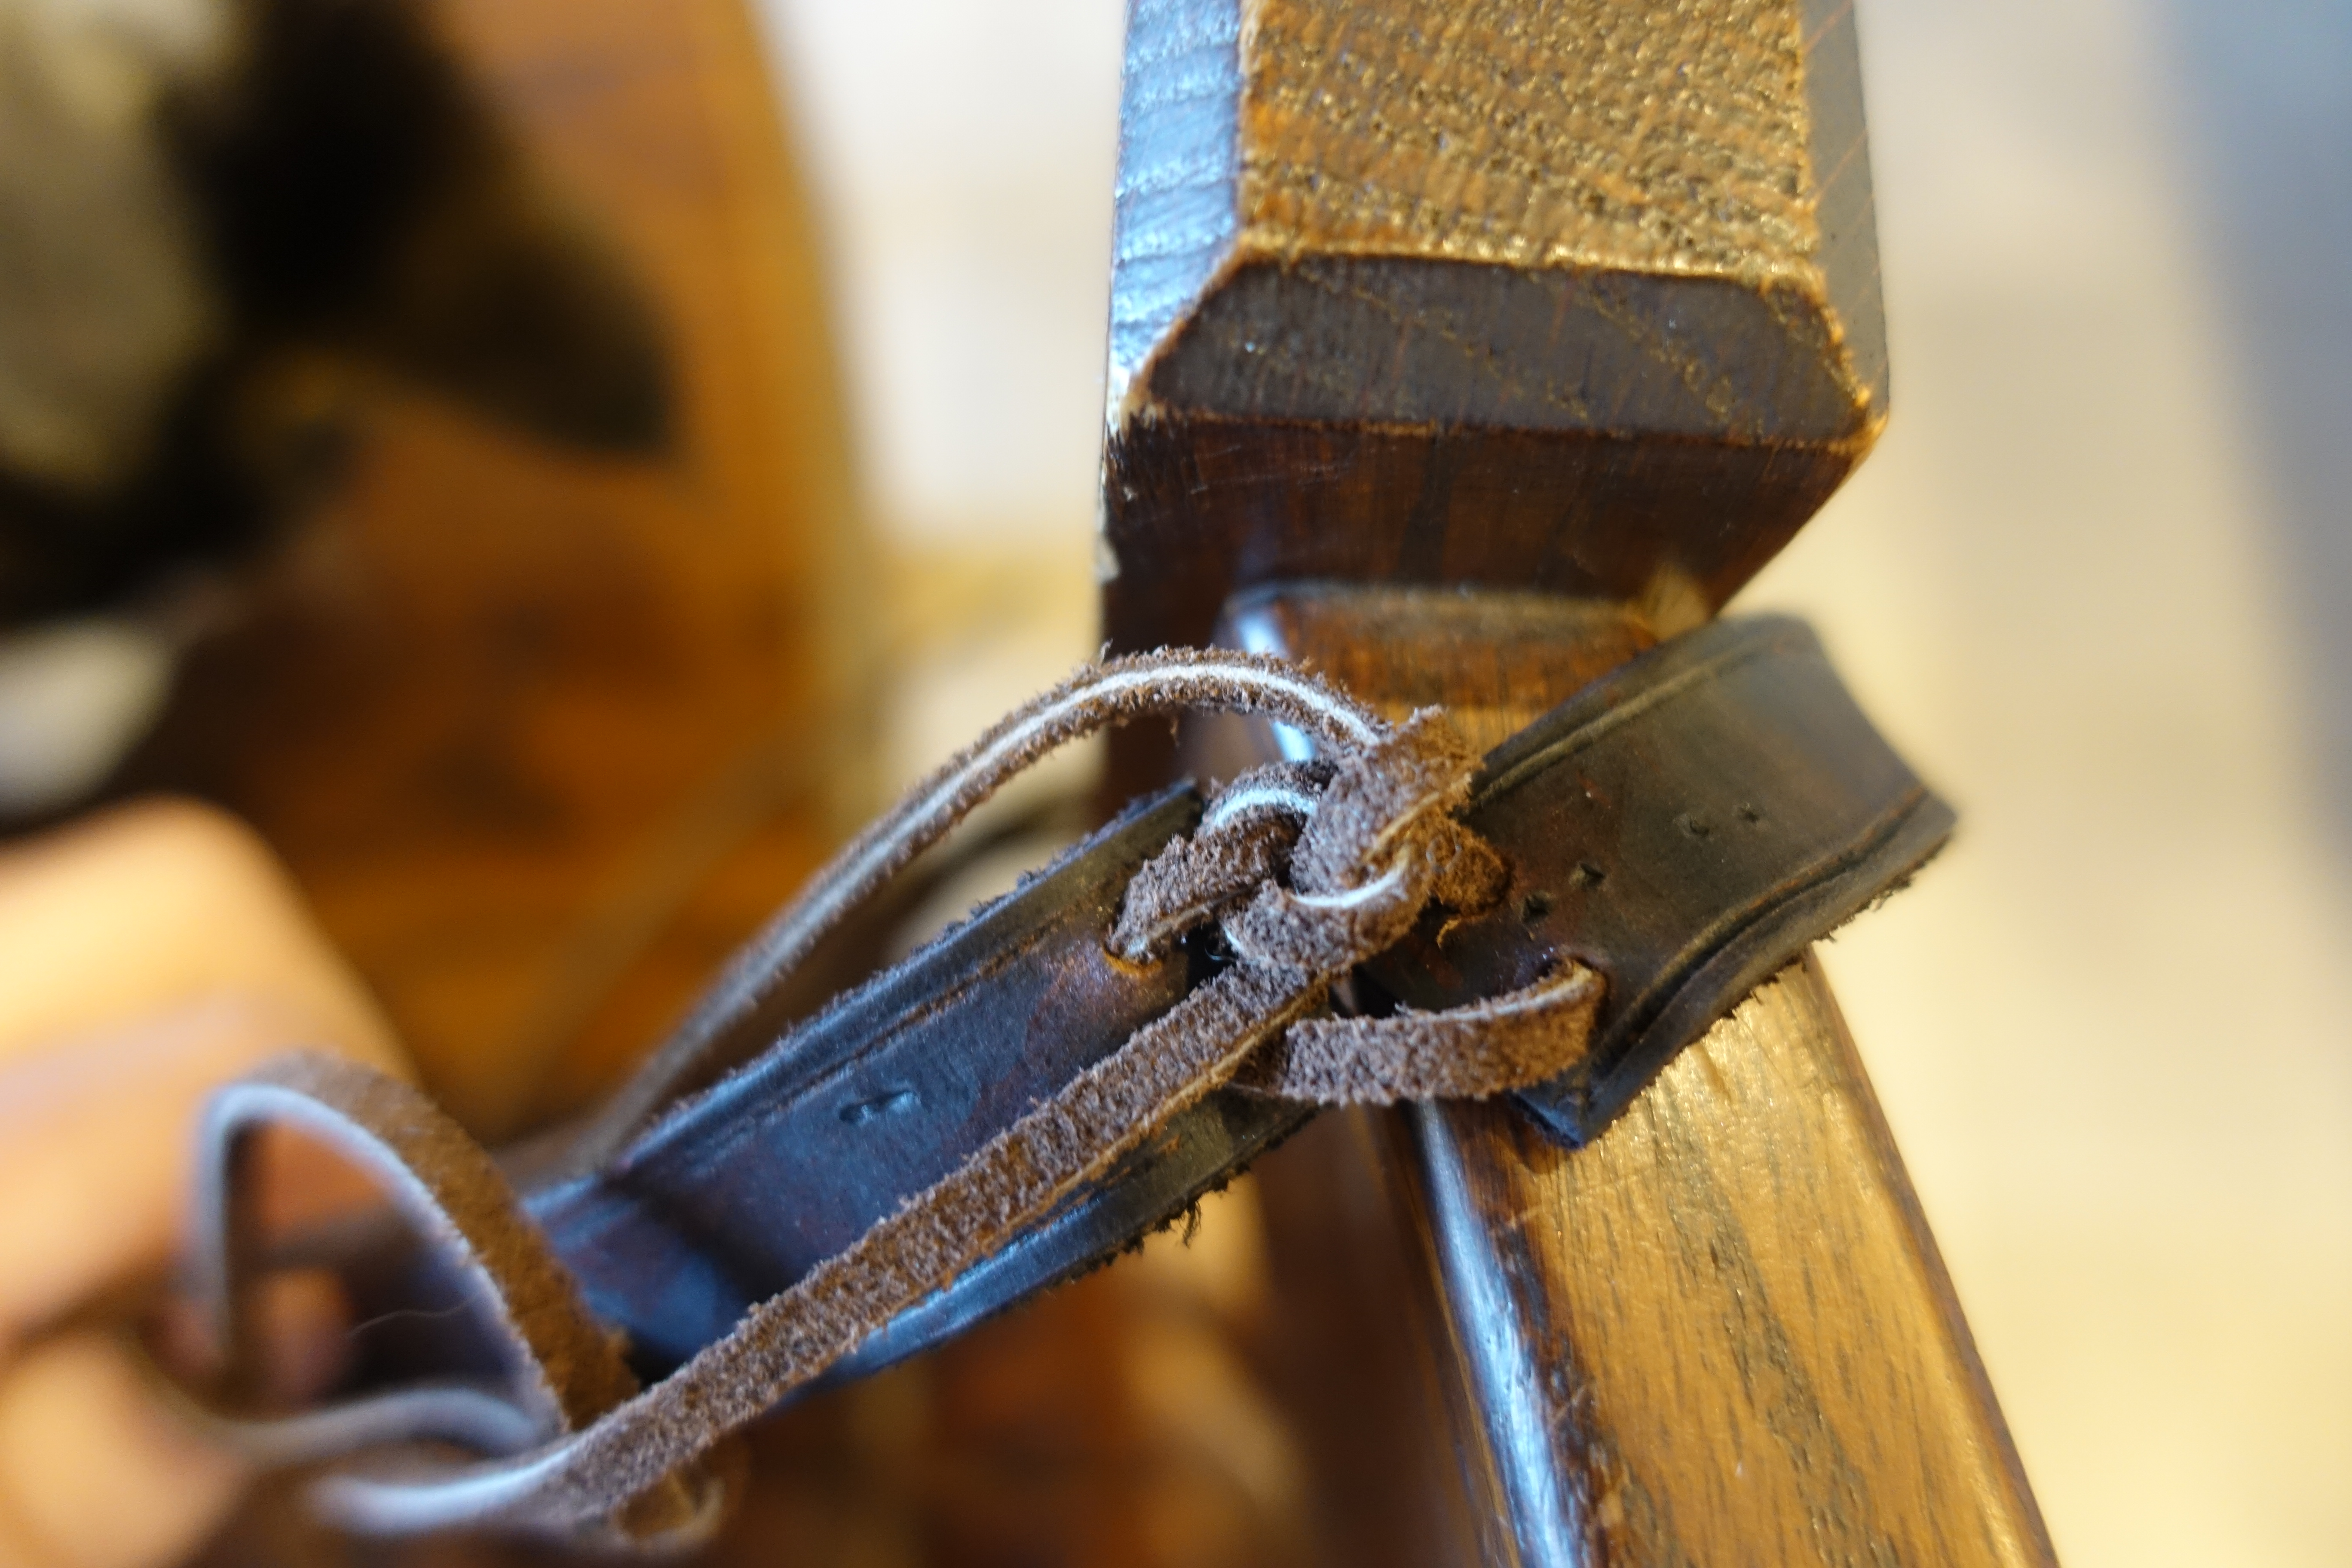
Since I would be wearing a wig, the leather wouldn’t be long enough for me to use a snap to fasten the back. Instead I found a roll of leather strips/string (which i have no idea where it came from or why I had it) as a tie on the back. Two holes on each end of the leather, loop it through, and I had an adjustable headband.
And this is where my headband diverges from Mononoke’s.
The belt I was working with had a number of metal attachments on one side. They were obviously “old west.” I removed them, which left several holes in the belt.
…and inspiration struck.
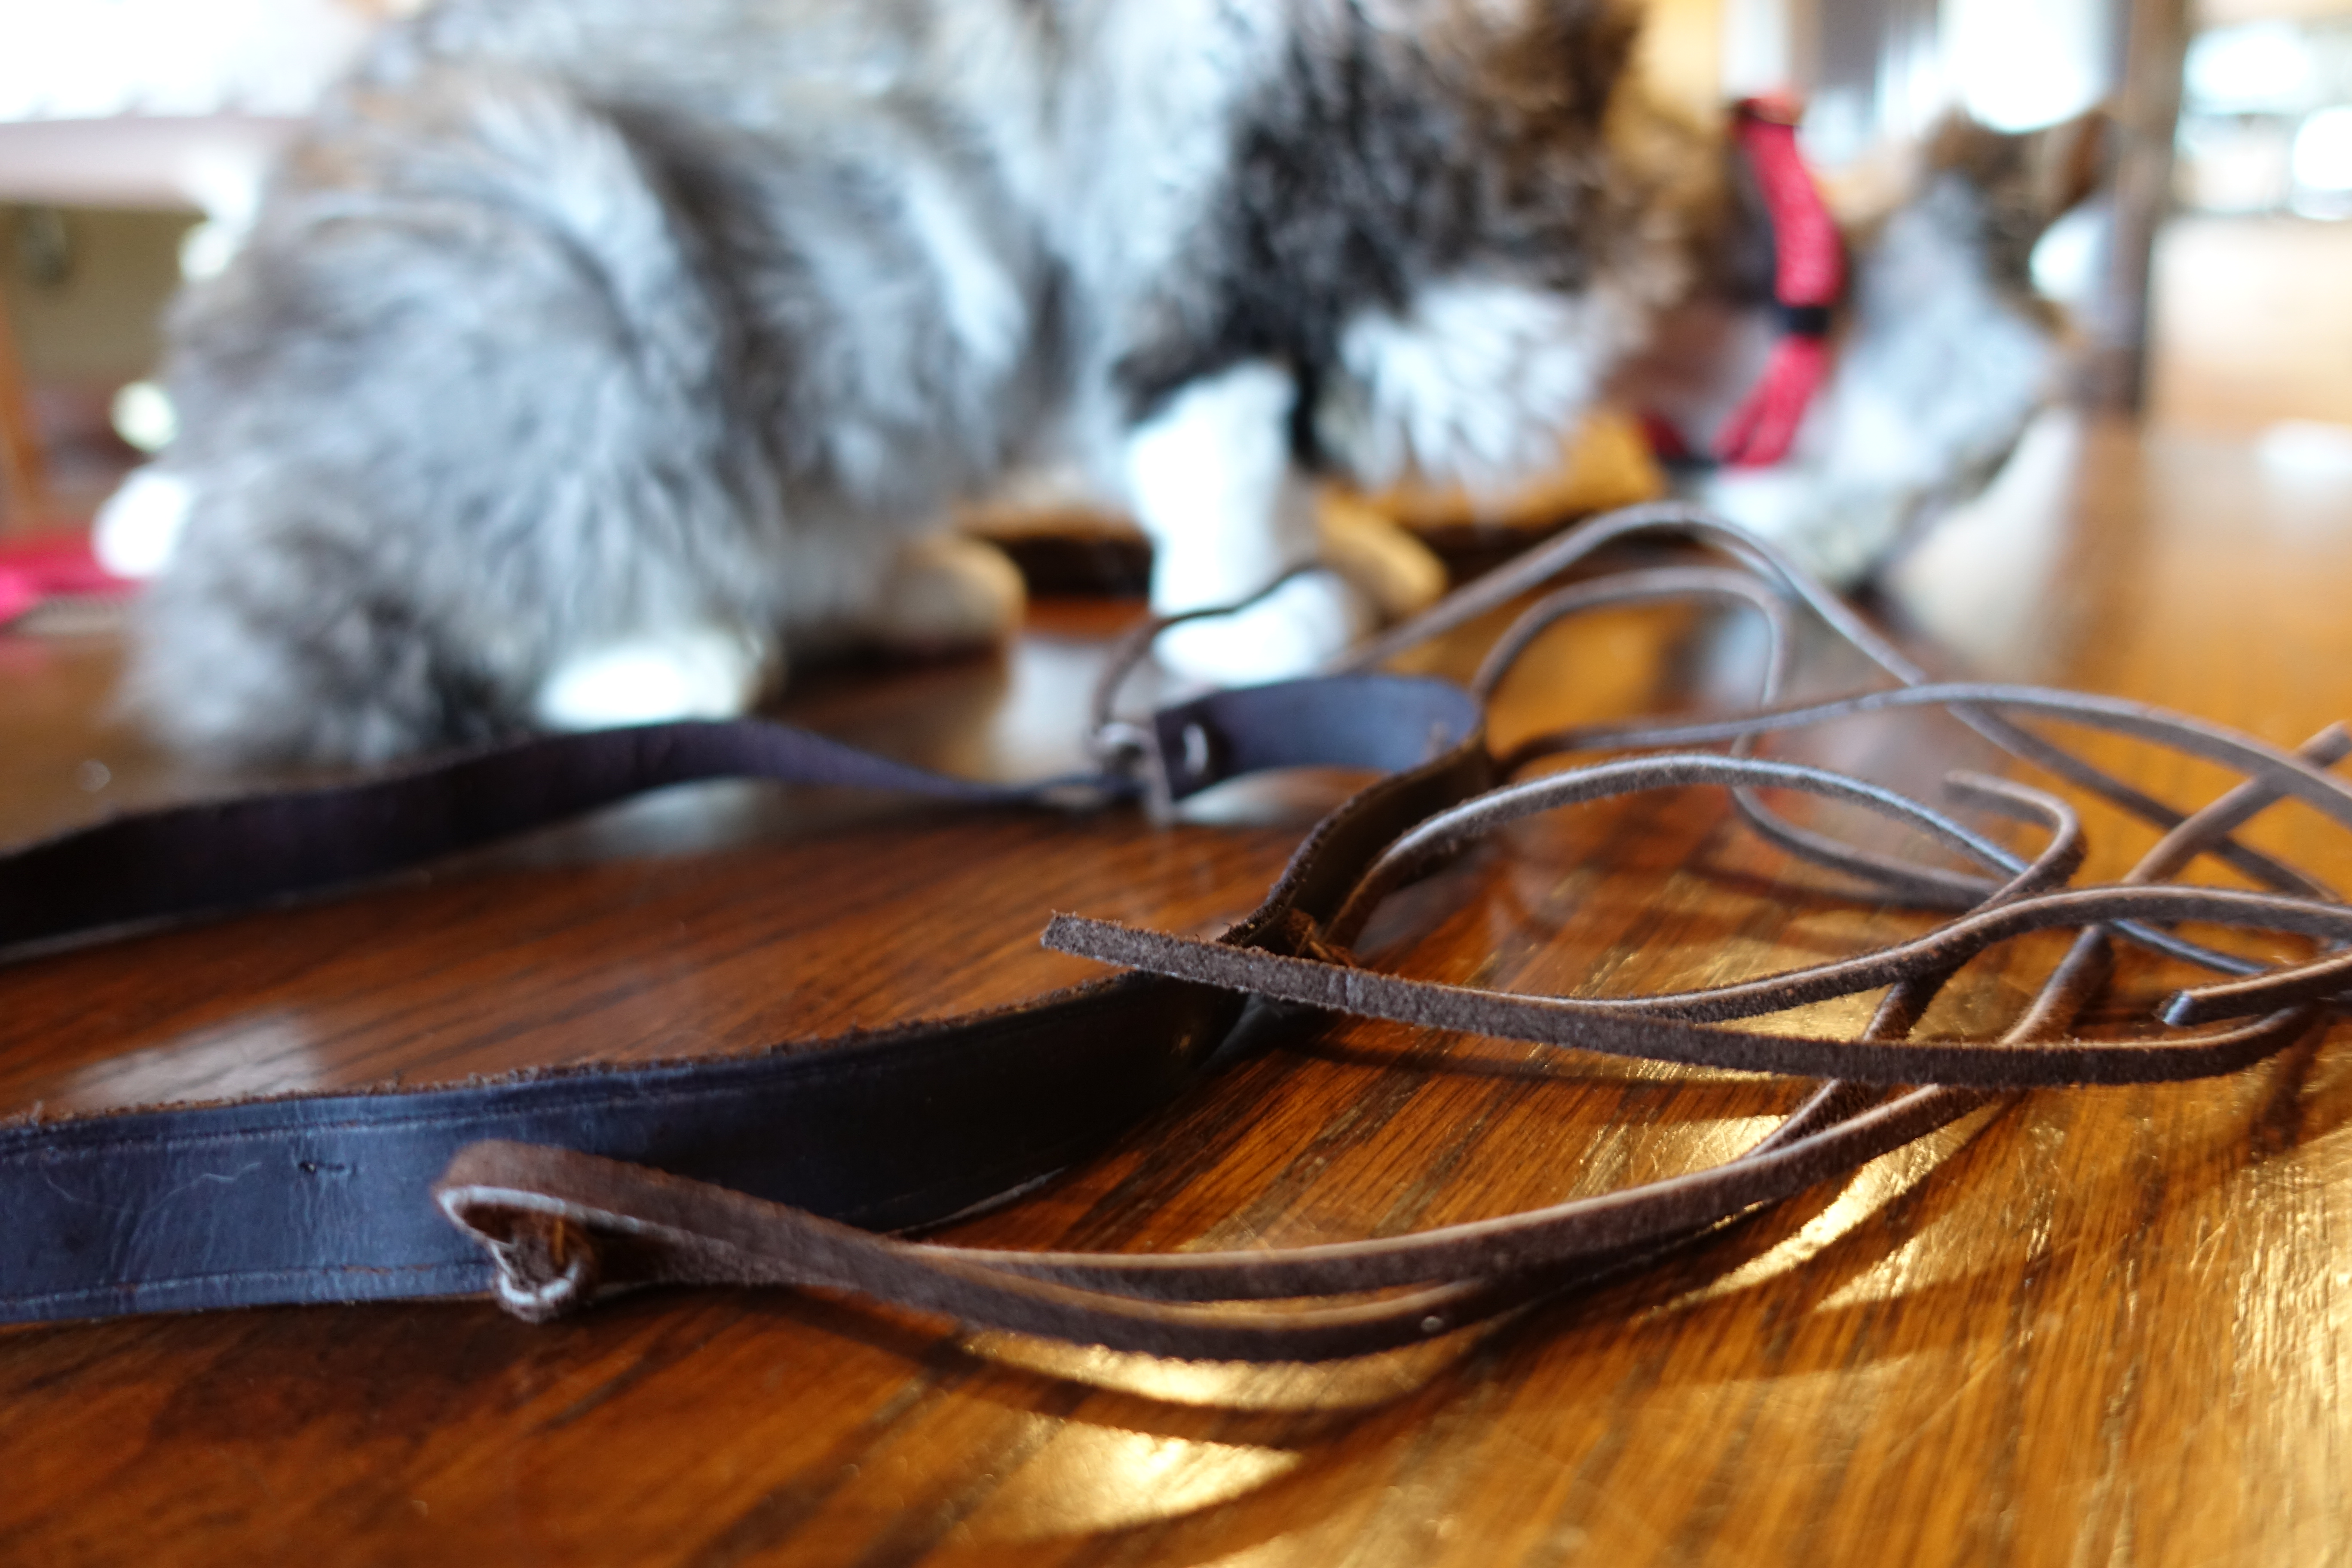
I left the back ties long and attached different lengths of the leather strips to each hole.
It looks like a weird cat toy when it’s not being worn.

But I though it looked pretty cool once it was on someone’s head. ;)
Finished!
Face Paint
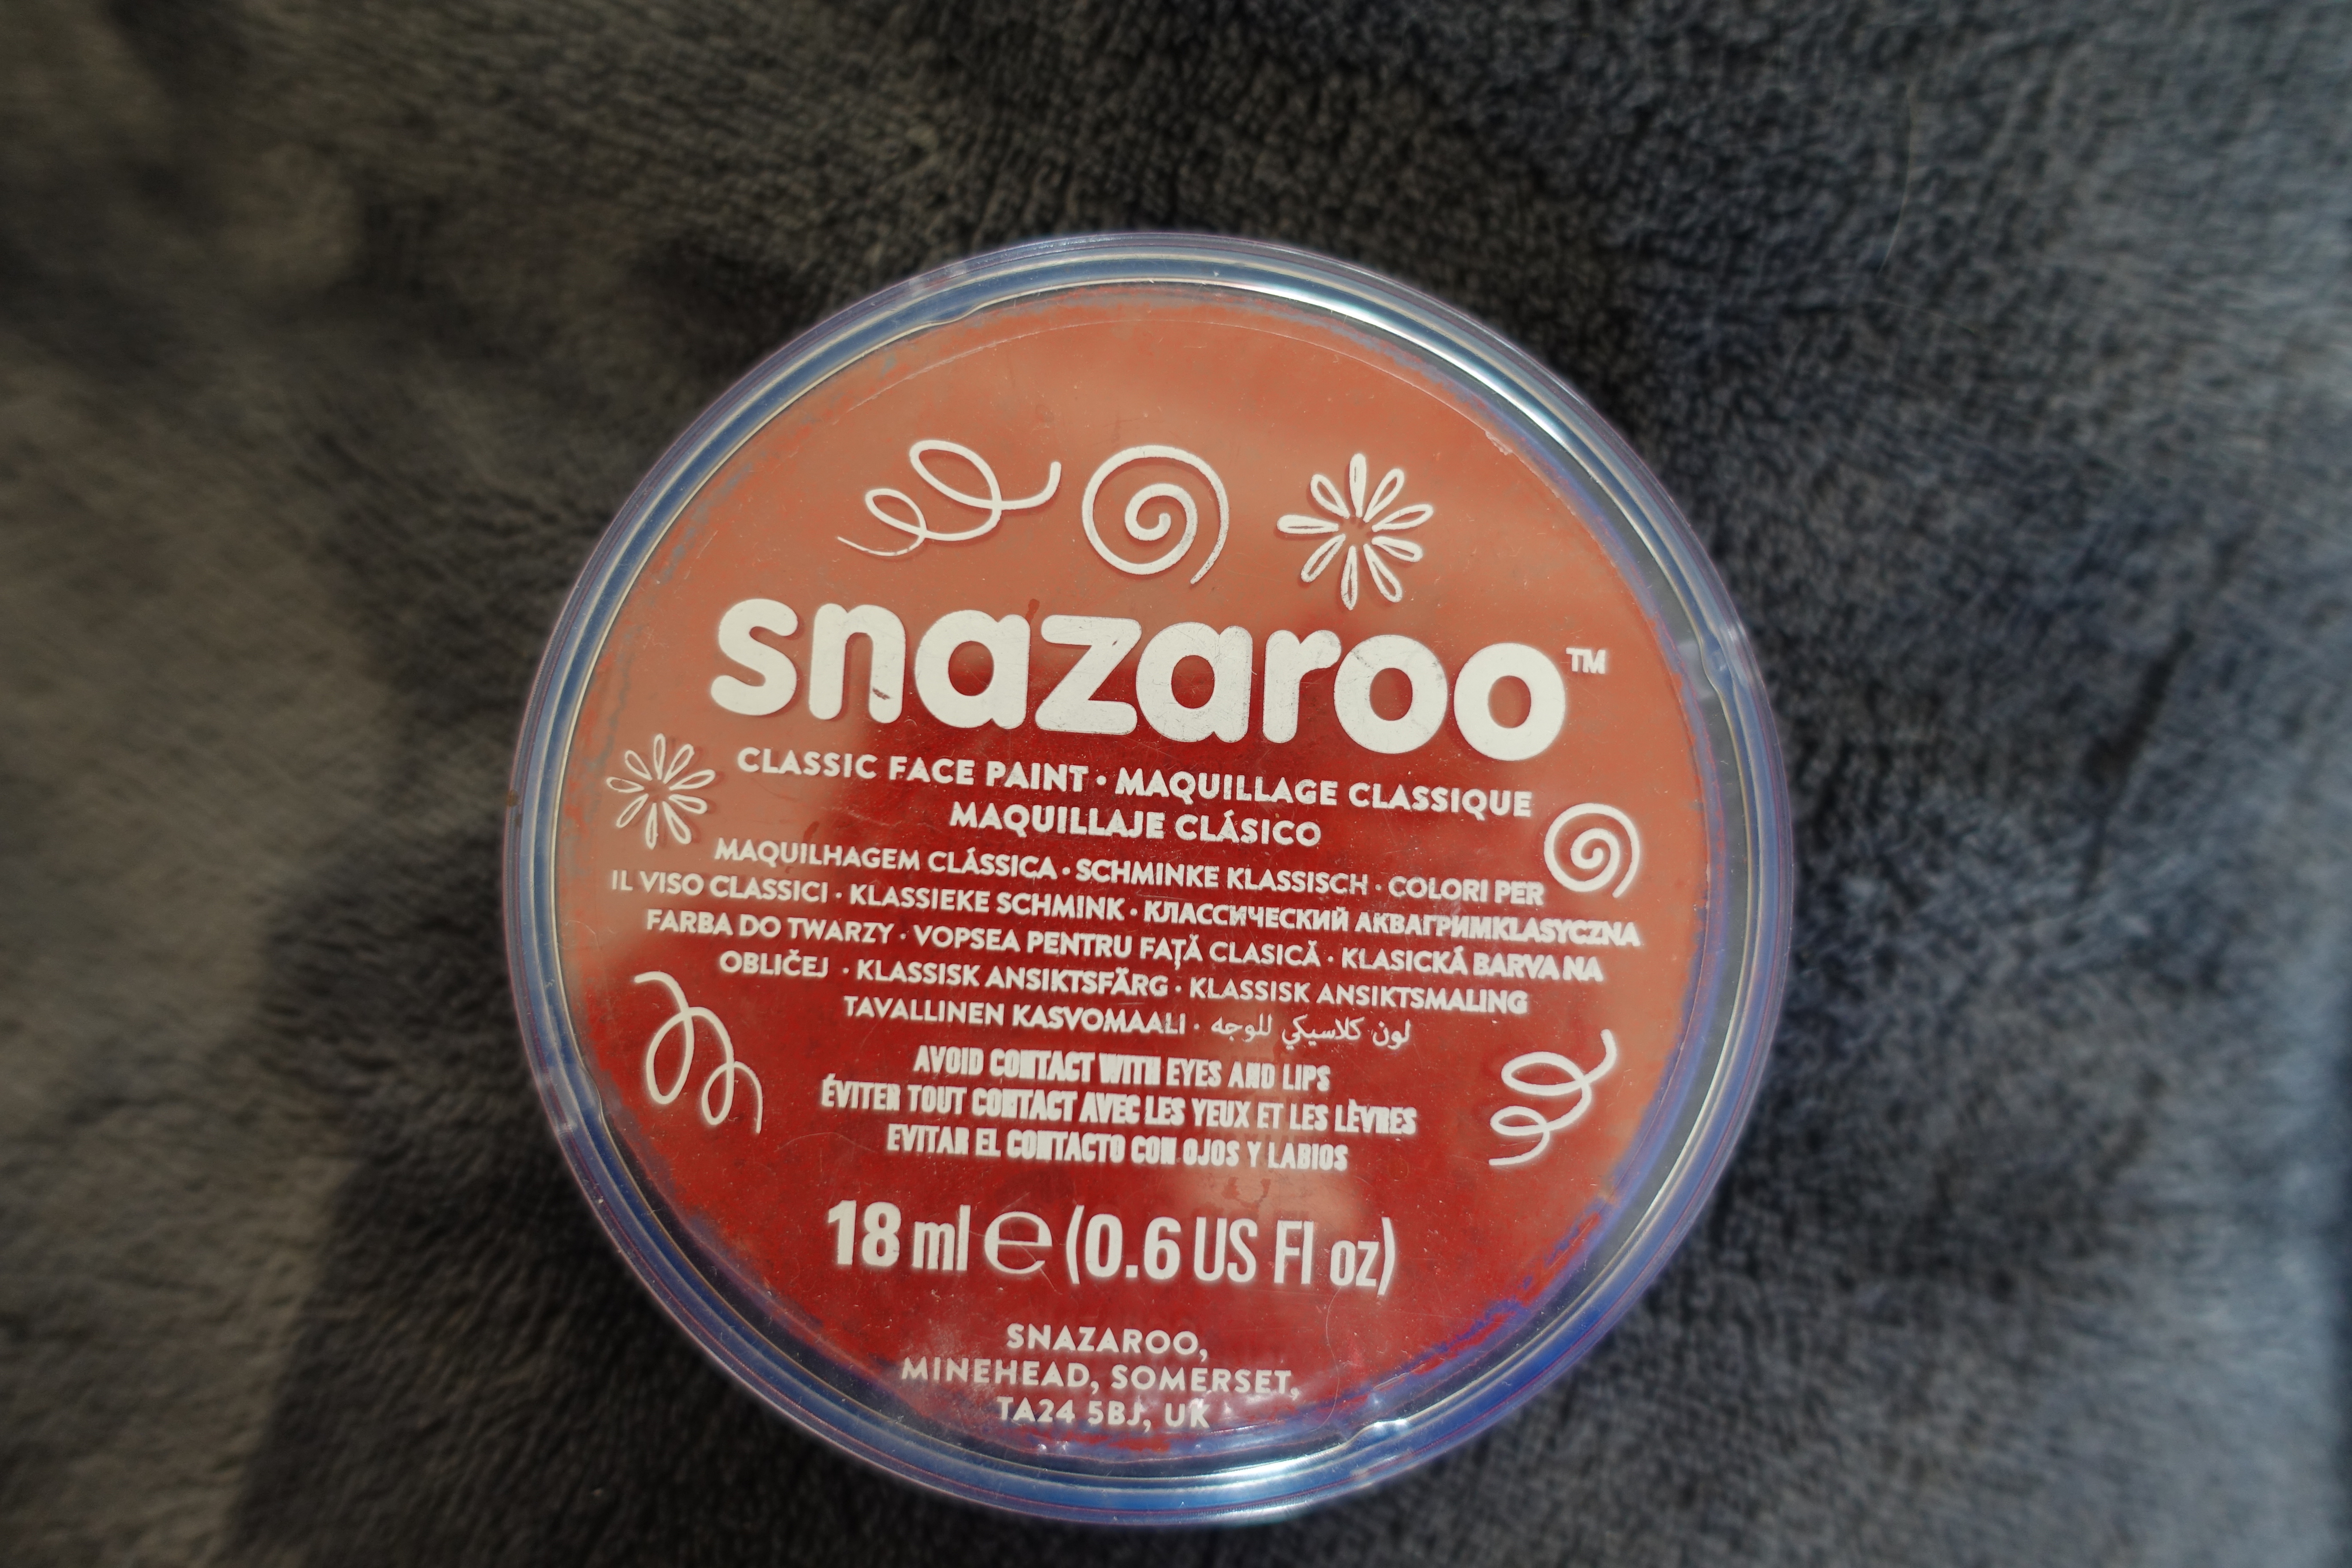
This was easy. I ordered red face paint from snazaroo. It worked well.
The Shoe Fluff
This was another divergence from the traditional Mononoke. When I put her costume on with the pelt and shoes, 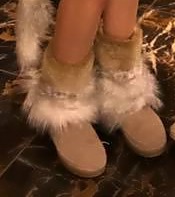 I didn’t like the look of it. With the grey-tinged faux fur I chose for the pelt, it didn’t tie in to any of the costume’s other elements. It didn’t look right.
Luckily I had one strip of faux fur left over. I cut it in two and hand stitched them into rings that would fit over my boot tops. The boots are extra fluffy now, but the color and look of the pelt carry over into another element of the costume. It feels a lot more natural now.
Finished!
And that’s how I made Mononoke’s accessories!
I didn’t make Mononoke’s mask or ears this time around. When I do, I’ll add them to this series of posts. ;)
Also in this series:
The Base: Mononoke’s Dress and Apron
The Accessories: Mononoke’s Headband, Armbands, Necklace, Earrings, and Face Paint
Mononoke Wrap Up: Final Weathering and Other Extras
Photos of Mononoke
If there is anything in particular you would like added to these posts, let me know!
Just B. Jordan is an award-winning author of fantasy and sci-fi. She graduated high school a year early and received her first publishing contract at the age of 18. To Ashes We Run is her most recent novel. Find it here.
LastMuhammad
I see you don’t monetize your page, don’t
waste your traffic, you can earn additional cash every month because
you’ve got high quality content. If you want to know how to
make extra bucks, search for: Mertiso’s tips best adsense alternative
MGisele
Hello, is anybody here interested in online working?
It is simple survey filling. Even 10 bucks
per survey (ten minutes duration). If you are interested,
send me e-mail to hans.orloski[at]gmail.com